

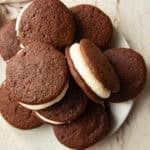
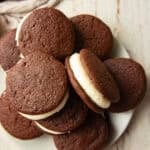
Made with fluffy vanilla filling smushed between two rich chocolate cake rounds, these vegan whoopie pies are fun to make and an absolute joy to devour!
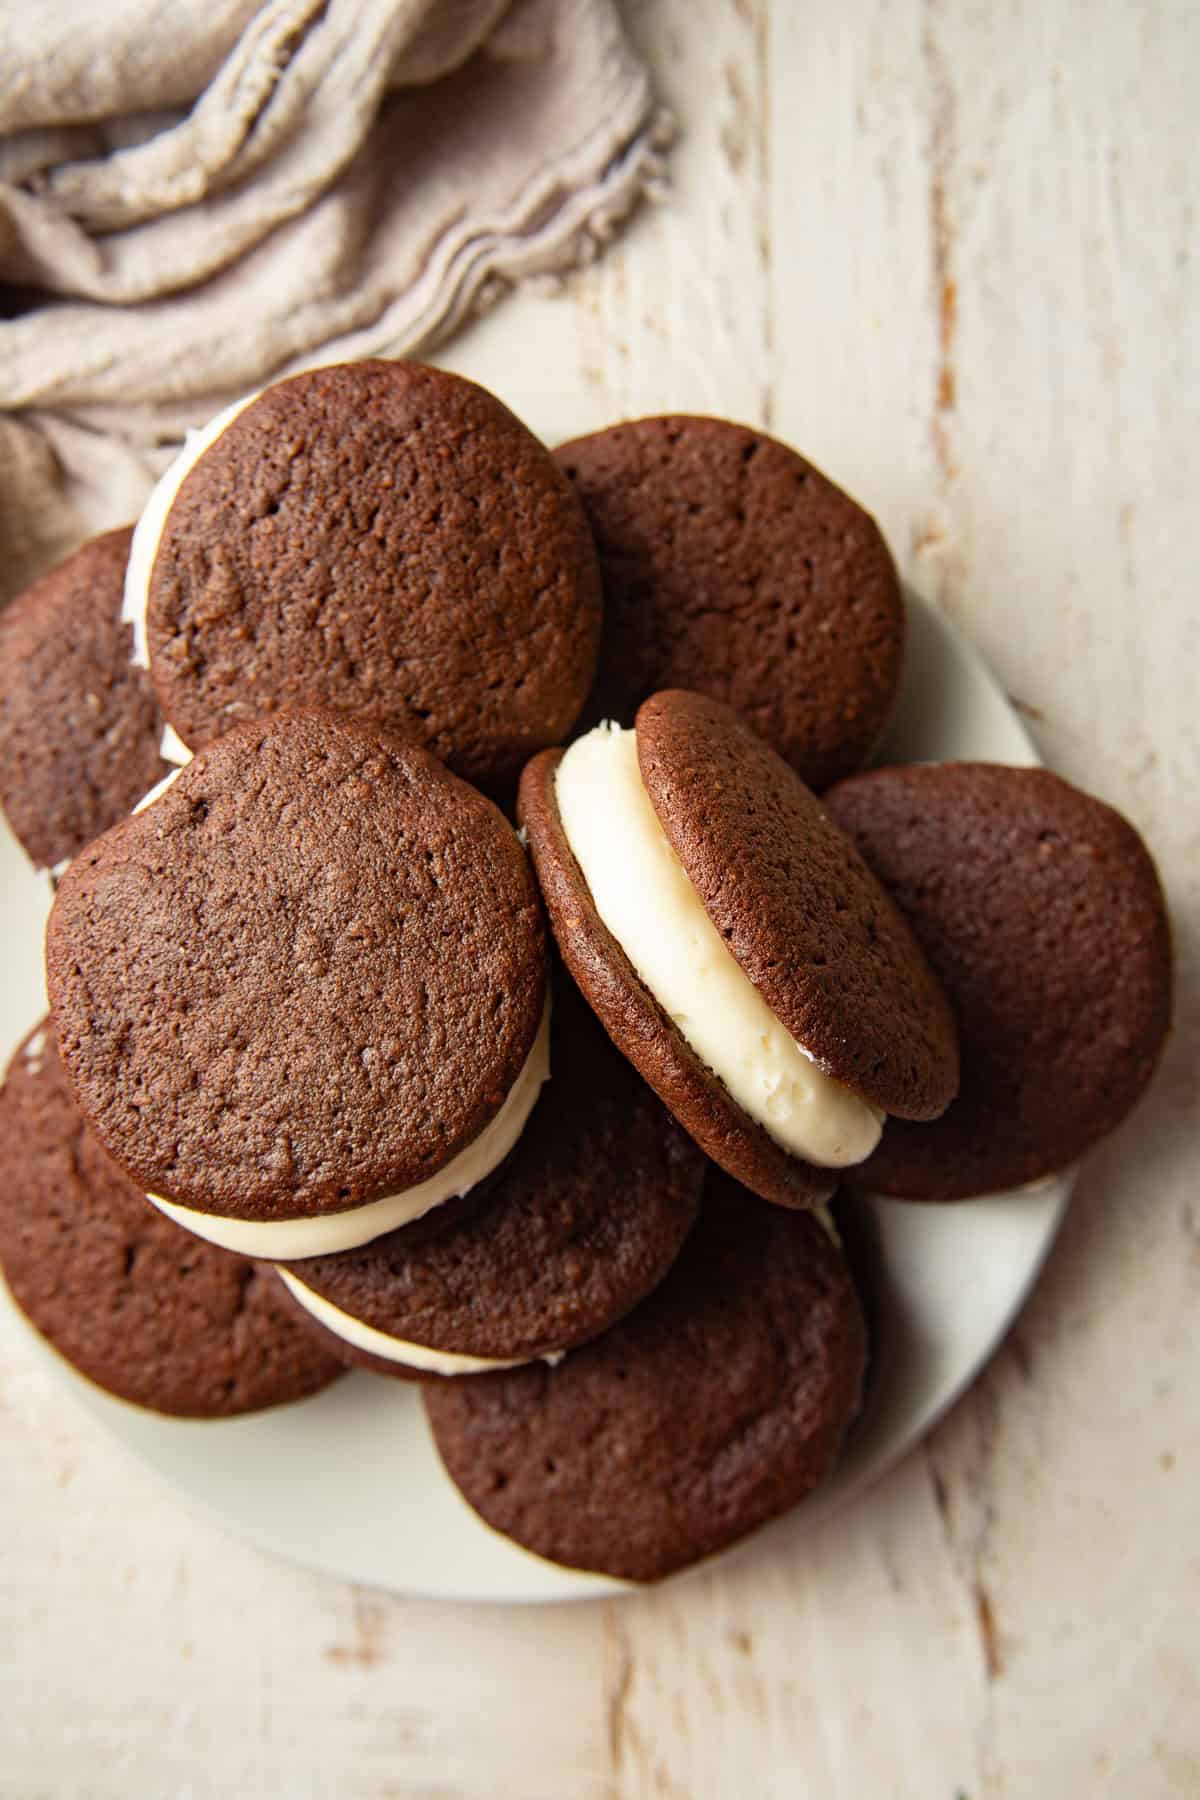
You know, I may have had a whoopie pie as a kid, but after going vegetarian at 13, it was so long ago that I honestly can't remember. What I do remember is drooling over the ones sold by Amish bakers at farmers' markets for the last thirty-plus years. I never looked back when it came to meat, but a cake sandwich with marshmallow filling? Much harder to walk away from!
Jump to:
The marshmallow filling is the challenging part to veganize. These days I can work around marshmallow-based treats, like I did with my vegan rice krispie treats, vegan ambrosia salad, and vegan s'mores cookies. Those were easy enough to recreate with vegan marshmallows. Sadly, vegan marshmallows didn't work for my whoopie pie filling. It turned into a big, clumpy marshmallow mess.
No problem, though! We actually don't need marshmallows here. These vegan whoopie pies are stuffed with a fluffy vanilla filling adapted from my vegan ermine frosting (check out my vegan red velvet cake recipe for that), then sandwiched between two tender chocolate cake rounds. And let me tell you, biting into one of these babies is the most fun I've had in, like, three decades.
Ingredients You'll Need
Below you'll find a list of ingredients in this recipe, with notes and substitutions. Scroll all the way to the bottom of the post to see the full recipe, including the amount of each ingredient.
- Sugar. We're using organic sugar to keep the recipe vegan. Conventional sugar is often processed using animal bone char.
- Flour. I've only tested this recipe using all-purpose wheat flour, so I can't make any promises if you use another variety.
- Non-dairy milk. Use any type of plant milk you'd normally drink, such as soy, almond, or oat. Read my guide to dairy-free milks if you need help choosing one.
- Coconut milk. This will add some richness to your filling. Stick with the full-fat variety, sold in cans.
- Vegan butter. Look for this in the refrigerated section of your store, usually near the regular butter.
- Vegetable shortening. This can be swapped with more vegan butter in a pinch, but shortening helps stabilize the filling, so I recommend using it if possible.
- Vanilla extract.
- Ground flaxseed. You'll be mixing this with some non-dairy milk to make a flax egg, one of my favorite vegan egg substitutes for baking.
- Cocoa powder. Use unsweetened.
- Espresso powder. This will enhance the chocolate flavor of the cakes without making them taste like coffee. It's optional, but totally worth it!
- Baking powder.
- Baking soda.
- Salt.
How They're Made
Below is a detailed photo tutorial on how to make this dish. Scroll all the way down if you'd like to skip right to the recipe!
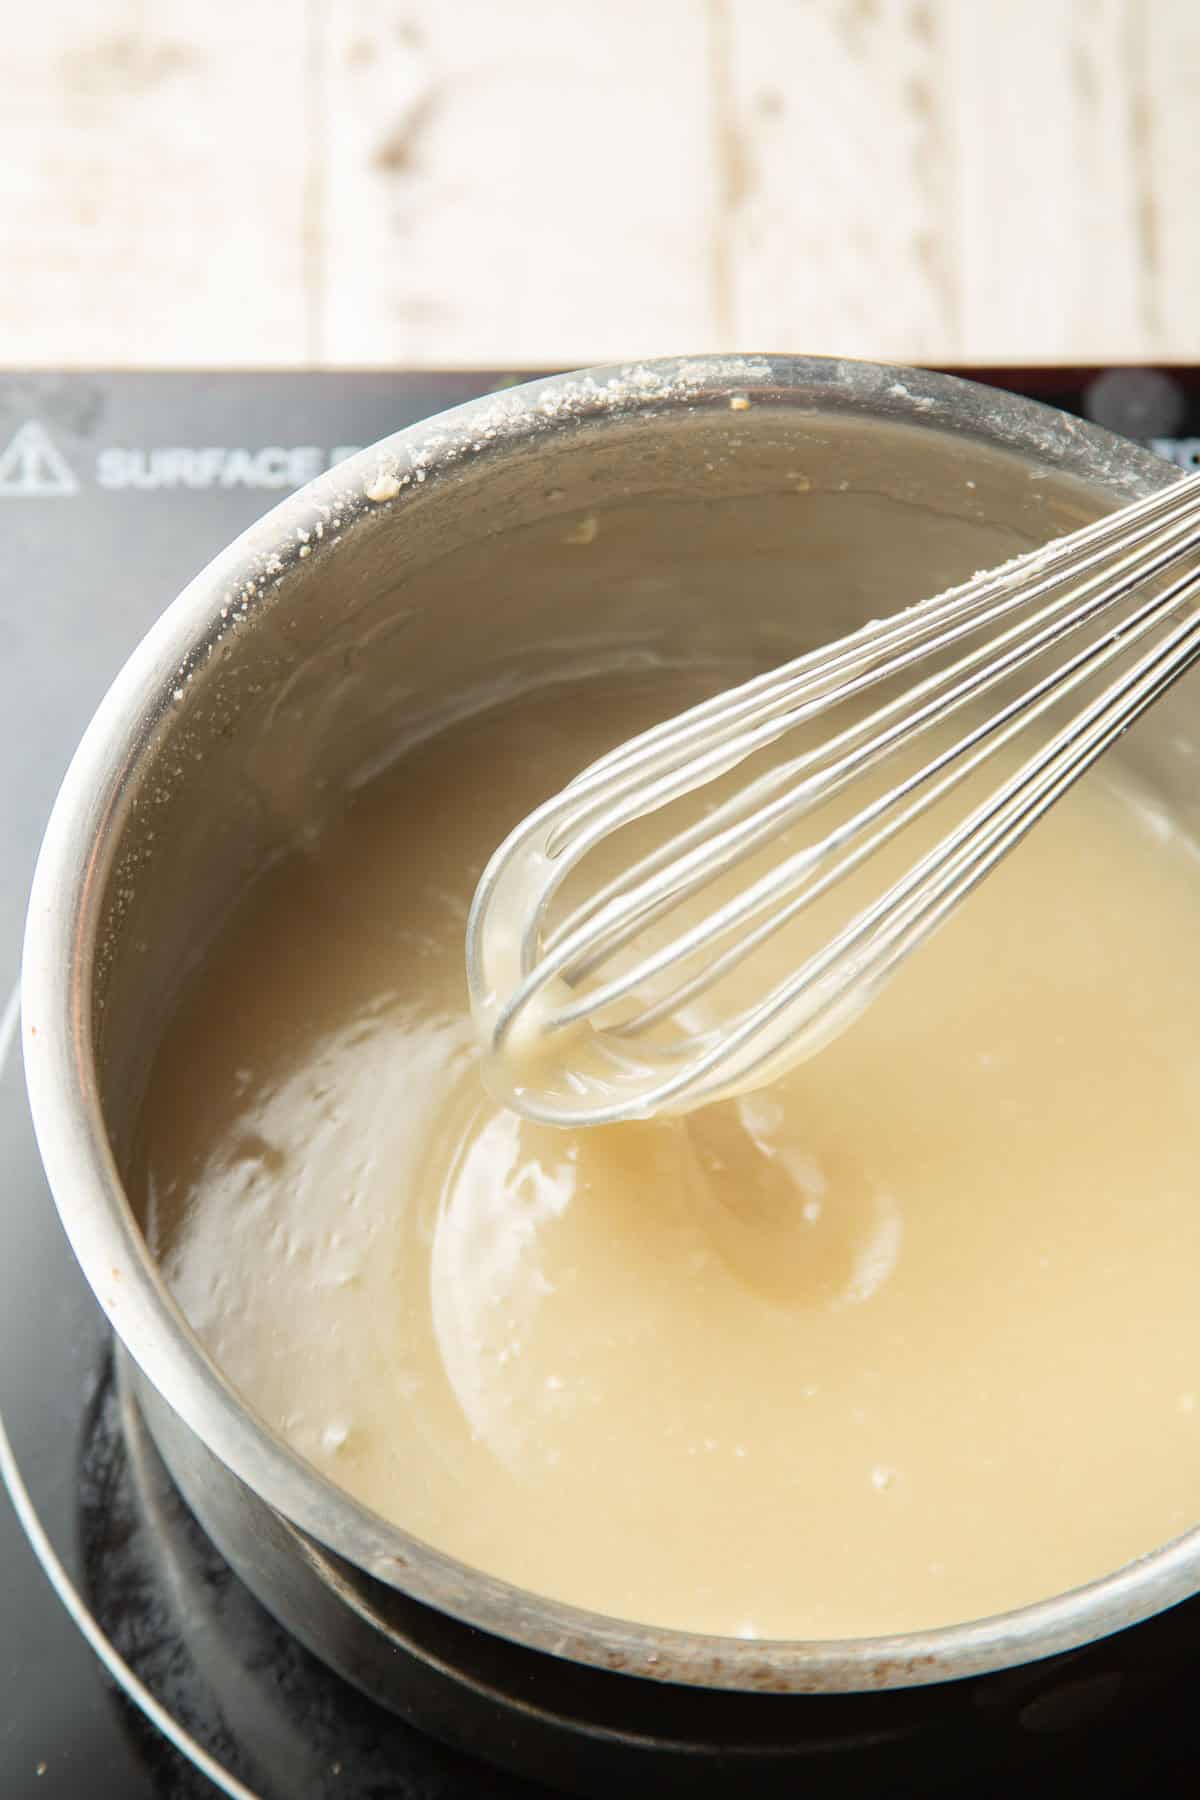
Make the roux. This is the thickener for your filling. You'll want to make it first, since it needs time to cool. Whisk your flour, sugar, non-dairy milk, and coconut milk together, then bring the mixture to a simmer over medium heat. It'll thicken up quickly. Take it off the heat and let it cool. You'll want to either cover it directly with plastic wrap, or whisk it occasionally to prevent a skin from forming.
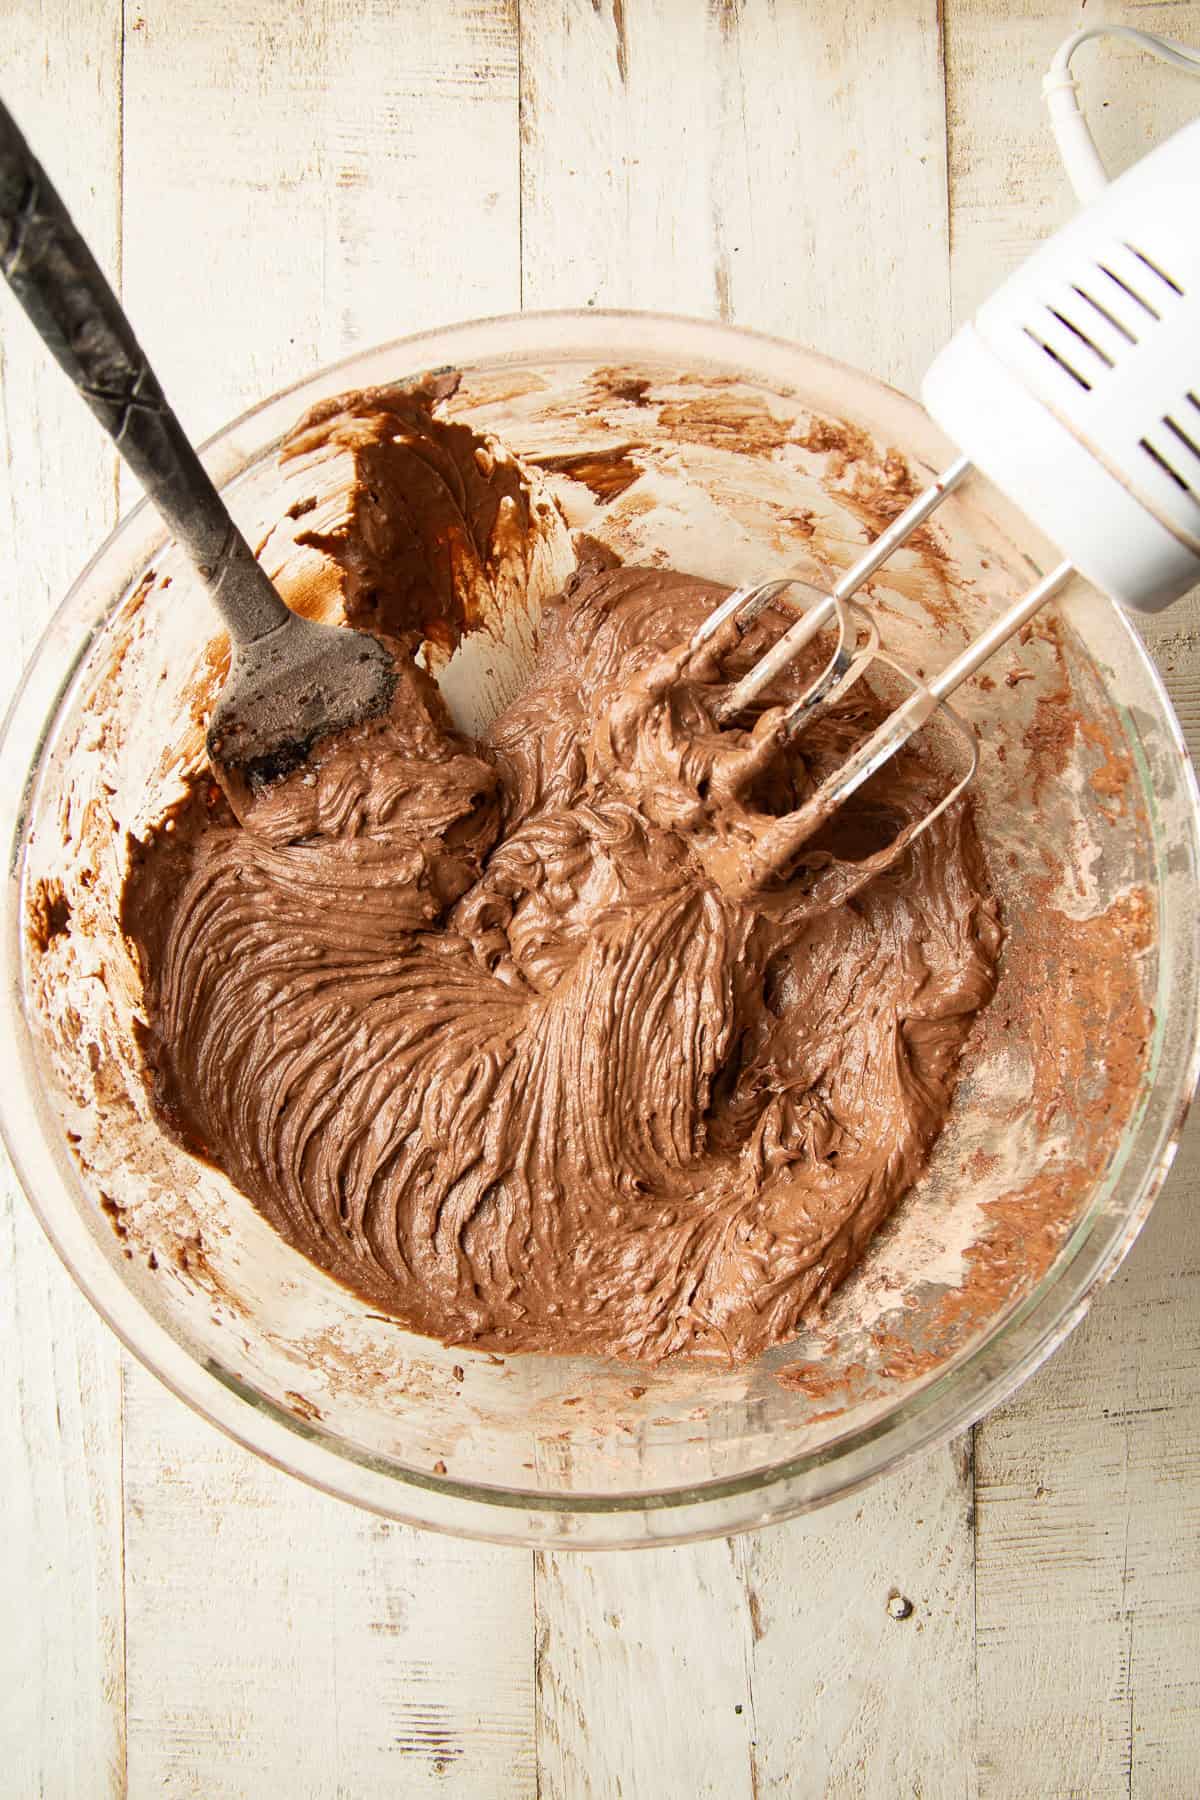
Make the batter. Mix your flax egg (non-dairy milk and ground flaxseed), and let it sit for a few minutes, while you mix the dry ingredients (flour, cocoa, optional espresso powder, baking powder and soda, and salt). Once the flax egg is ready, use an electric mixer to cream it together with room-temperature vegan butter, sugar, and vanilla. Drizzle in the remaining non-dairy milk, then beat in the dry mixture, a bit at a time. The batter will be thick and fluffy — somewhere between typical cake batter and cookie dough.
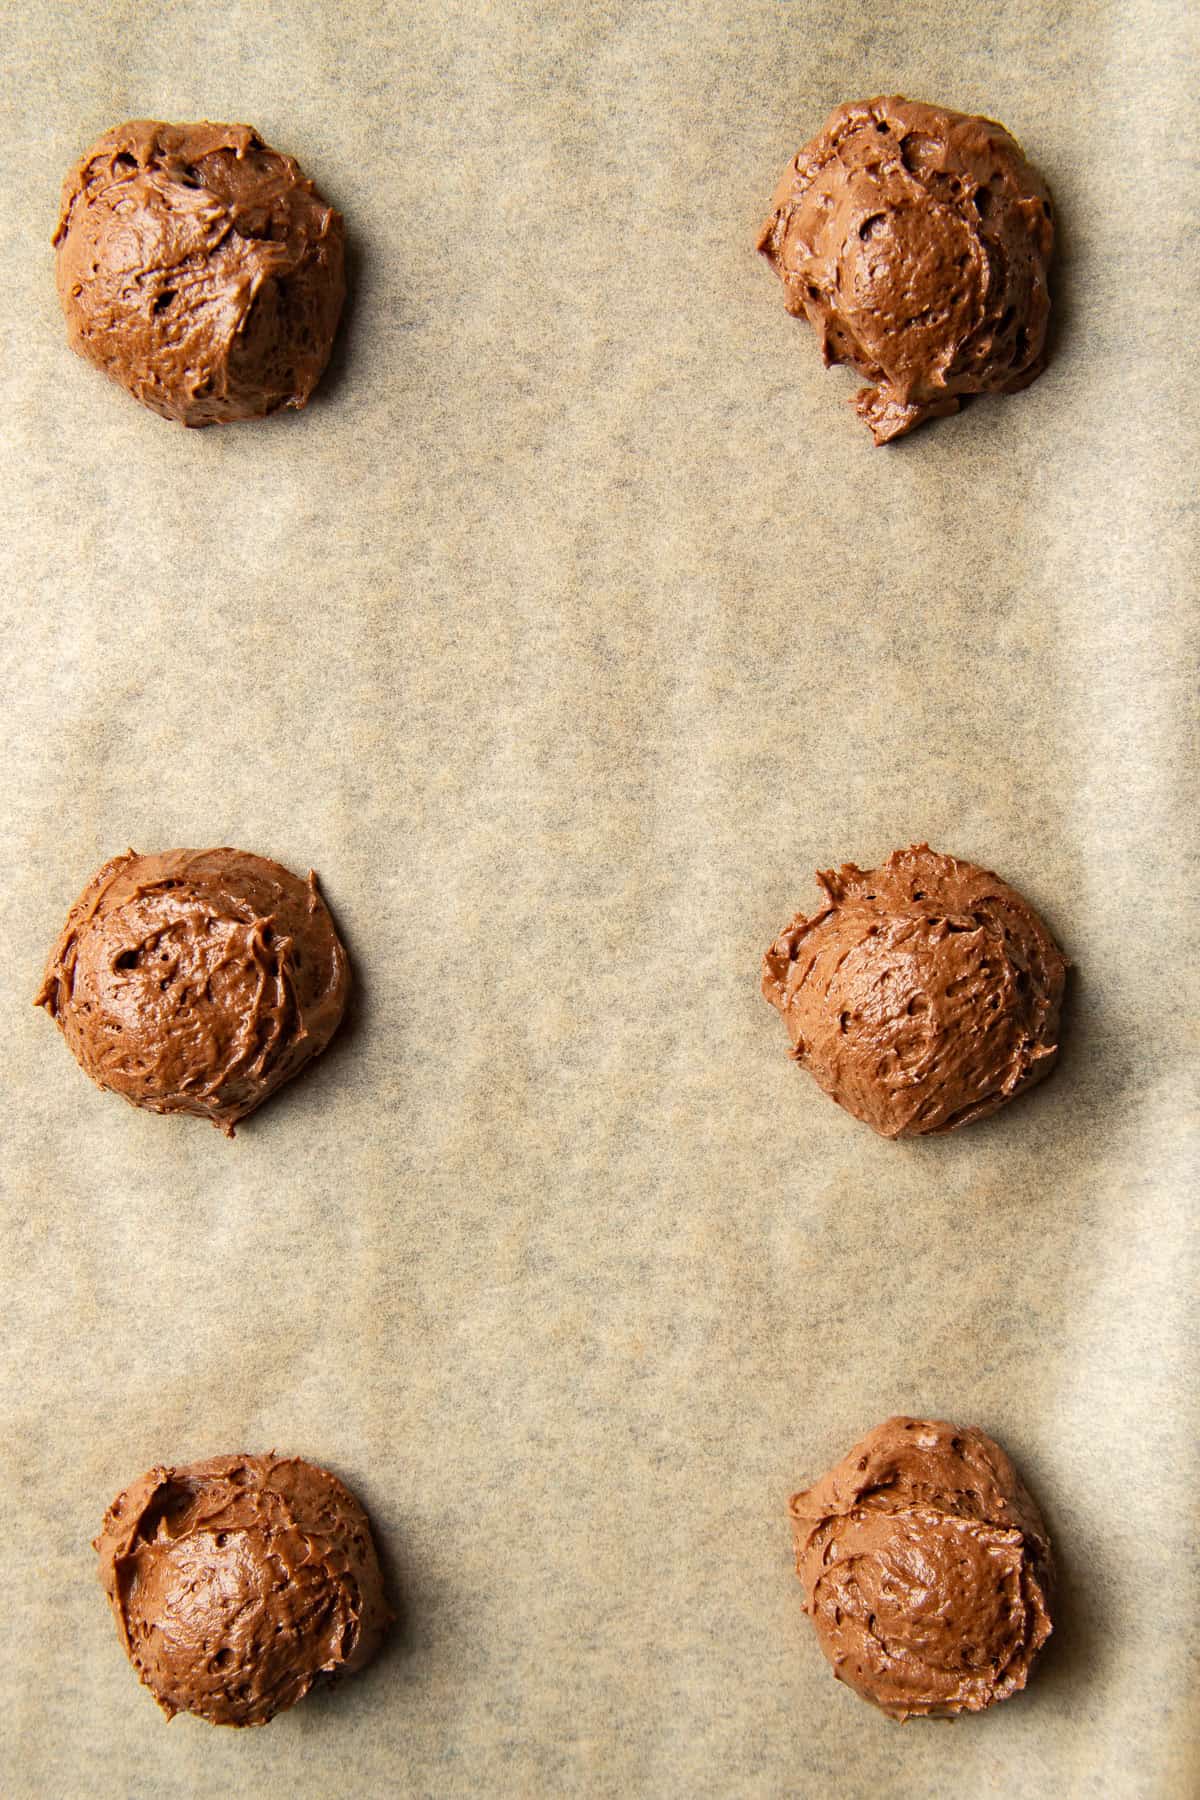
Shape the batter. Drop the batter in rounds on parchment-lined baking sheets. A cookie scoop is great for this!
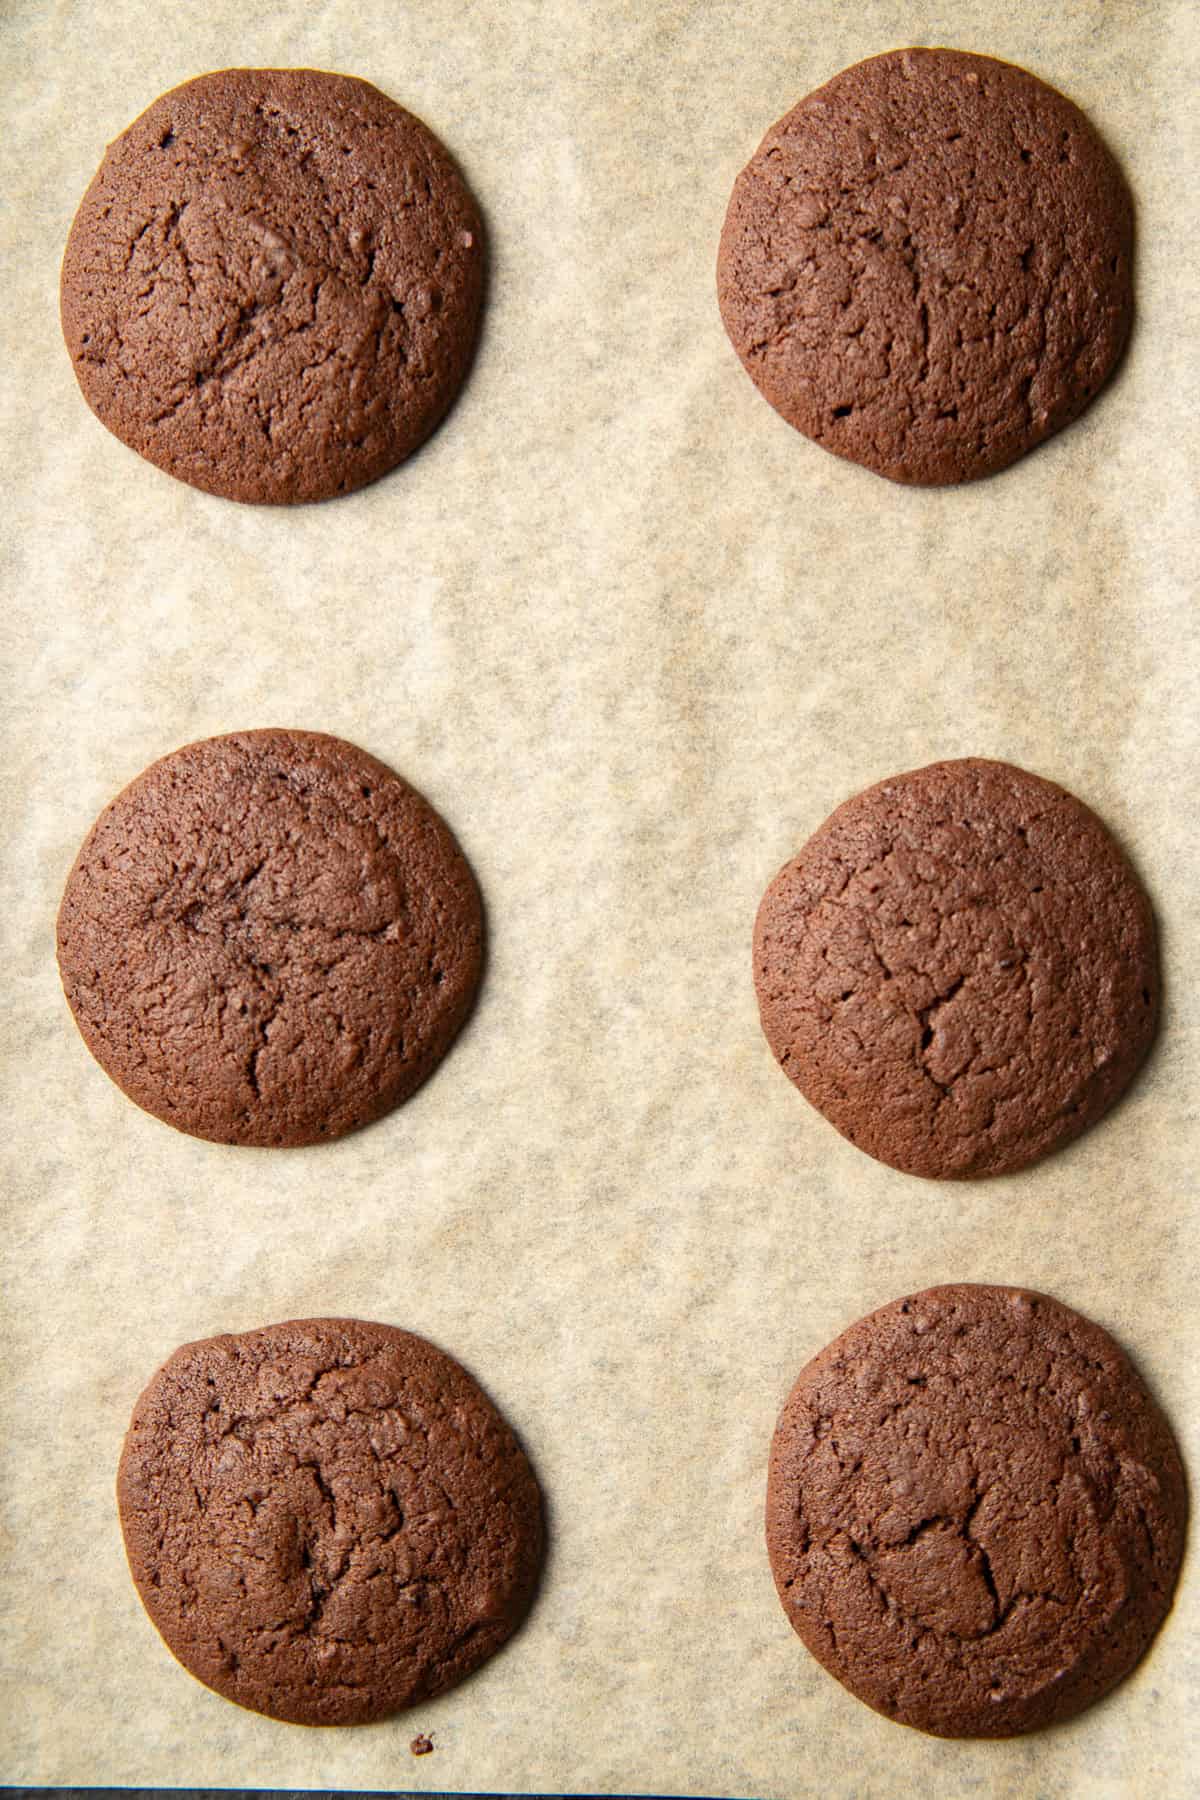
Bake. Bake until the cakes have spread and puffed up. Gently press the top of one to test for doneness — it should spring back.
Tip: It can be challenging to get your batter scoops perfectly round, even with a cookie scoop. Don't worry, though! These cakes are surprisingly forgiving and will round out a bit during baking.
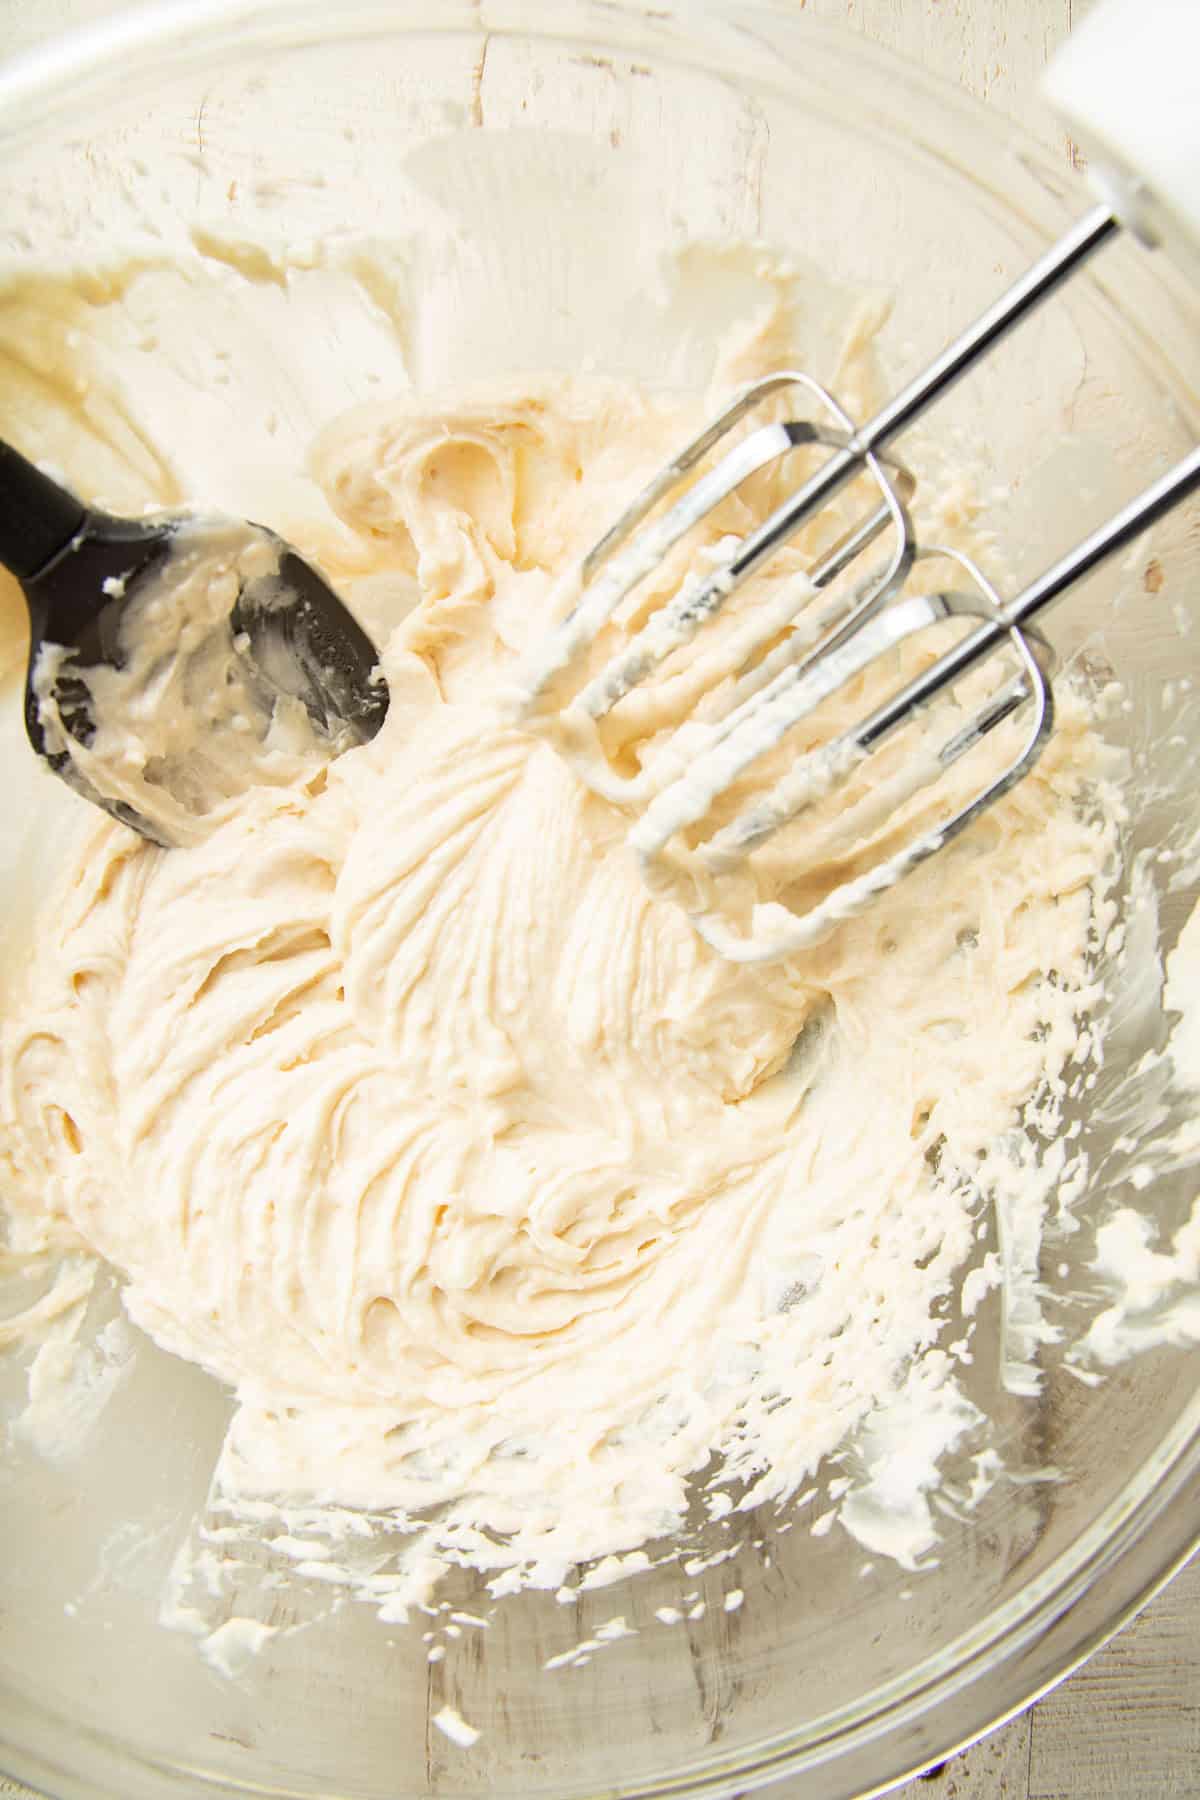
Make the filling. Start by creaming vegan butter, shortening, and vanilla together, then start beating in the cooled roux. The mixture will get creamy and fluffy.
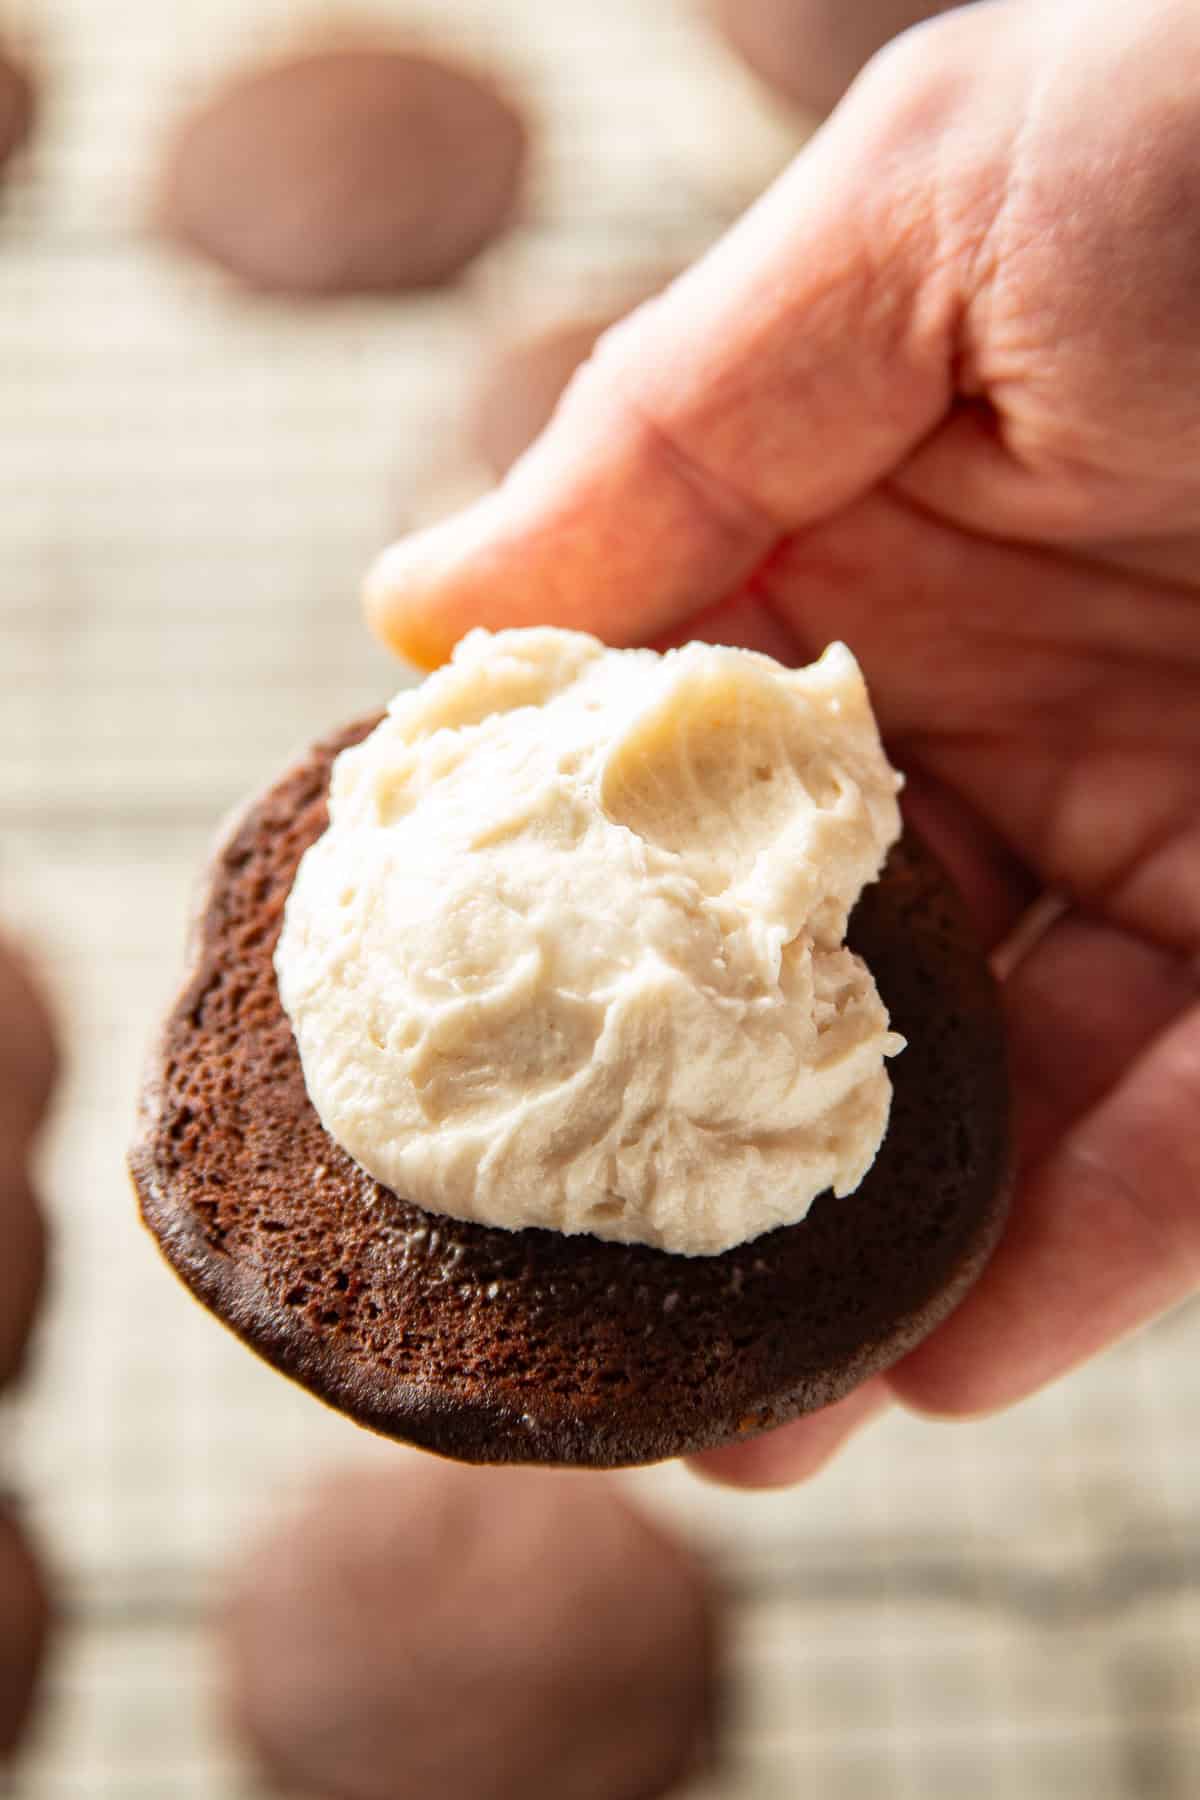
Fill the cakes. Use about two tablespoons per pie. You can pipe it with a pastry bag if you're fancy, or just use a spoon. (Full disclosure, the finished pies in the photos were done with a pastry bag.)
Tip: If your filling seems too loose, just cover the bowl and stick it in the fridge for a while. You can briefly rewhip it with a mixer if it firms up too much in there.
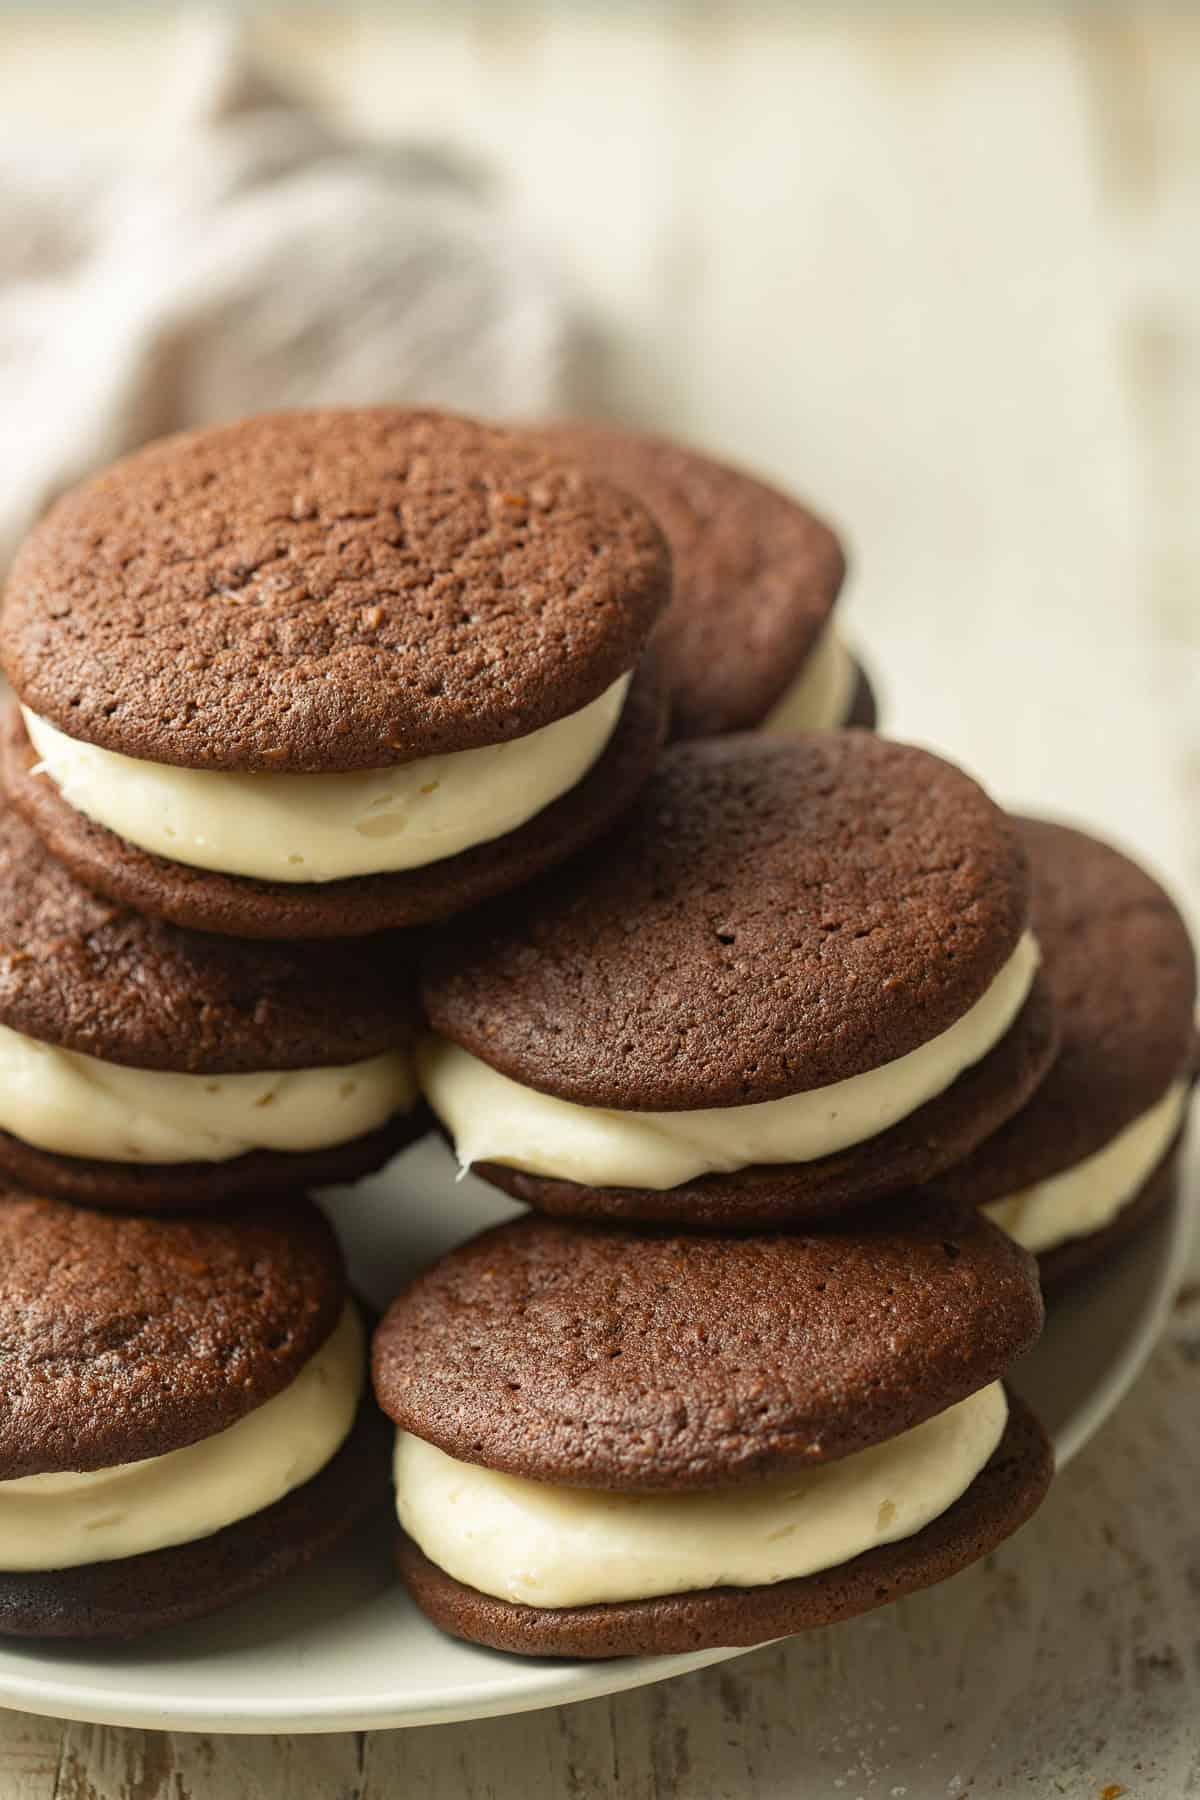
Enjoy. Your vegan whoopie pies are ready! Be sure to chill them if you won't be serving them right away. The filling can soften up quite a bit, particularly during the warmer months of the year.
Variations
- Filling swaps. I really love the ermine filling for these pies, because it's not overly sweet. But that said, really any vegan frosting will work. Try my vegan cream cheese frosting, vegan vanilla buttercream frosting, or vegan chocolate frosting.
- Filling coatings. Once your pies are assembled, roll the edges in chopped nuts, mini chocolate chips, sprinkles, or any fun coatings you like.
- Flavor the filling. Add a little flavor extract, such as almond, coconut, peppermint, or maple.
Shelf-Life & Storage
Store your vegan whoopie pies in an airtight container in the refrigerator for up to 4 days or in the freezer for up to 3 months. The cakes can stick together, so store them in a single layer or separate stacked layers with sheets of parchment paper. If frozen, thaw them overnight in the refrigerator or let them sit at room temperature for about 30 minutes before serving.
More Nostalgic Vegan Treats
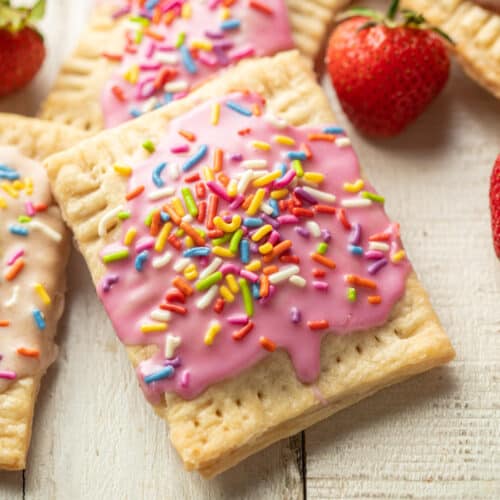
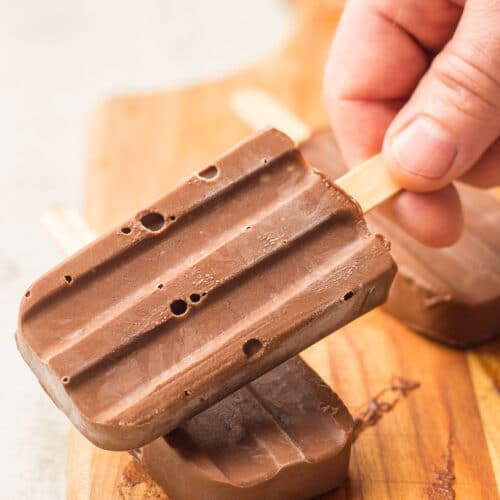
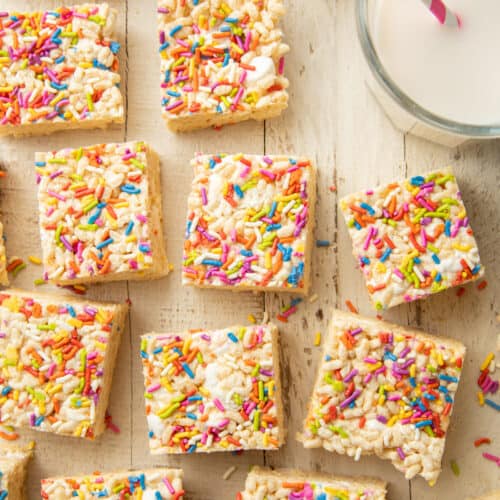
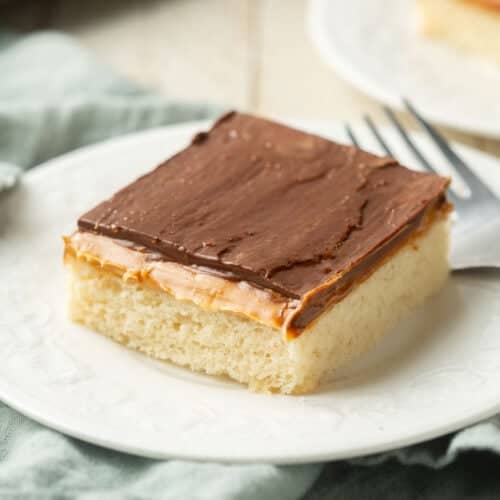
Like this recipe? If so, please stop back and leave me a review and rating below if you try it! Also be sure to follow me on Facebook, Pinterest or Instagram, or subscribe to my newsletter for more recipes like this one!
📖 Recipe
Vegan Whoopie Pies
Ingredients
For the Filling
- 1 ½ cups organic granulated sugar
- 9 tablespoons all-purpose flour
- 1 cup unflavored and unsweetened non-dairy milk
- 6 tablespoons full-fat coconut milk
- 1 cup vegan butter, room temperature
- ½ cup vegetable shortening
- 1 teaspoon vanilla extract
For the Cakes
- ⅓ cup unflavored and unsweetened non-dairy milk (for the flax egg)
- 2 tablespoons ground flaxseed
- 1 ¾ cups all-purpose flour
- ¾ cup unsweetened cocoa powder
- 1 teaspoon espresso powder (optional)
- 1 teaspoon baking powder
- ½ teaspoon baking soda
- ½ teaspoon salt
- 1 ¼ cups organic granulated sugar
- ¾ cup vegan butter, room temperature
- 2 teaspoons vanilla extract
- ½ cup unflavored and unsweetened non-dairy milk (in addition to the milk for the flax egg)
Instructions
- Start with the filling, since it will need to cool and possibly chill. Whisk the sugar, flour, milk, and coconut milk together in a small saucepan and set it over medium heat. Heat the mixture while whisking constantly until it comes to a simmer. After a minute or two of simmering, it should thicken to a pudding-like consistency. Remove the pot from heat and let it cool completely, about 1 to 2 hours, giving it a whisk every so often or covering it directly with plastic wrap to prevent a skin from forming.
- Make the cakes while the filling mixture cools. Start by preheating the oven to 350°F and lining a couple of baking sheets with parchment paper.
- Stir the ⅓ cup non-dairy milk together with the ground flaxseed in a large mixing bowl. Let the mixture sit for about 5 minutes, while you combine the dry ingredients. This is your flax egg.
- Whisk the flour, cocoa powder, espresso powder (if using), baking powder, baking soda, and salt together in a large mixing bowl. Set it aside.
- Add the butter, sugar, and vanilla extract to the bowl with the flax egg. Use an electric mixer at high speed to cream the ingredients together until fluffy, about 30 seconds to 1 minute.
- Turn the speed of the mixer down to low, then slowly drizzle in the ½ cup of non-dairy milk with the mixer running.
- Beat the flour mixture into the wet ingredients, adding about a third at a time and beating until fully combined. The batter will be thick and fluffy.
- Drop the batter in rounds, about 2 tablespoons each, on the baking sheets, leaving at least 2 inches between them. You can bake the cakes in batches if they don't all fit on your baking sheets.
- Bake the cakes for 13 to 15 minutes, until they're puffy and set. Test them for doneness by touching the top of one with a finger — it should feel set and spring back very slightly. If it stays collapsed, give the cakes a few minutes more.
- Place the baking sheets on cooling racks when they come out of the oven. Let the cakes cool for about 5 minutes, then remove them from the baking sheets and transfer them directly to the racks to finish cooling.
- Once the filling mixture has fully cooled, you can finish making the filling. Start by creaming the vegan butter, shortening, and vanilla together in a large mixing bowl. Beat in the cooled, cooked flour mixture, adding a bit at a time until the mixture is thick and creamy. If the mixture seems too loose to fill the cakes, cover the bowl and chill it for 30 to 60 minutes.
- Spoon or pipe about 2 tablespoons of the filling onto the underside of one of the cakes, then top it with a second cake, sandwiching the filling between them. Repeat the process for the rest of the cakes.
- Chill until ready to serve, or enjoy immediately.
Notes
Would you like to save this?
Nutrition
Nutrition information is provided as an estimate only and may vary based on ingredients, brands, portion sizes, and preparation methods.

Comments
No Comments