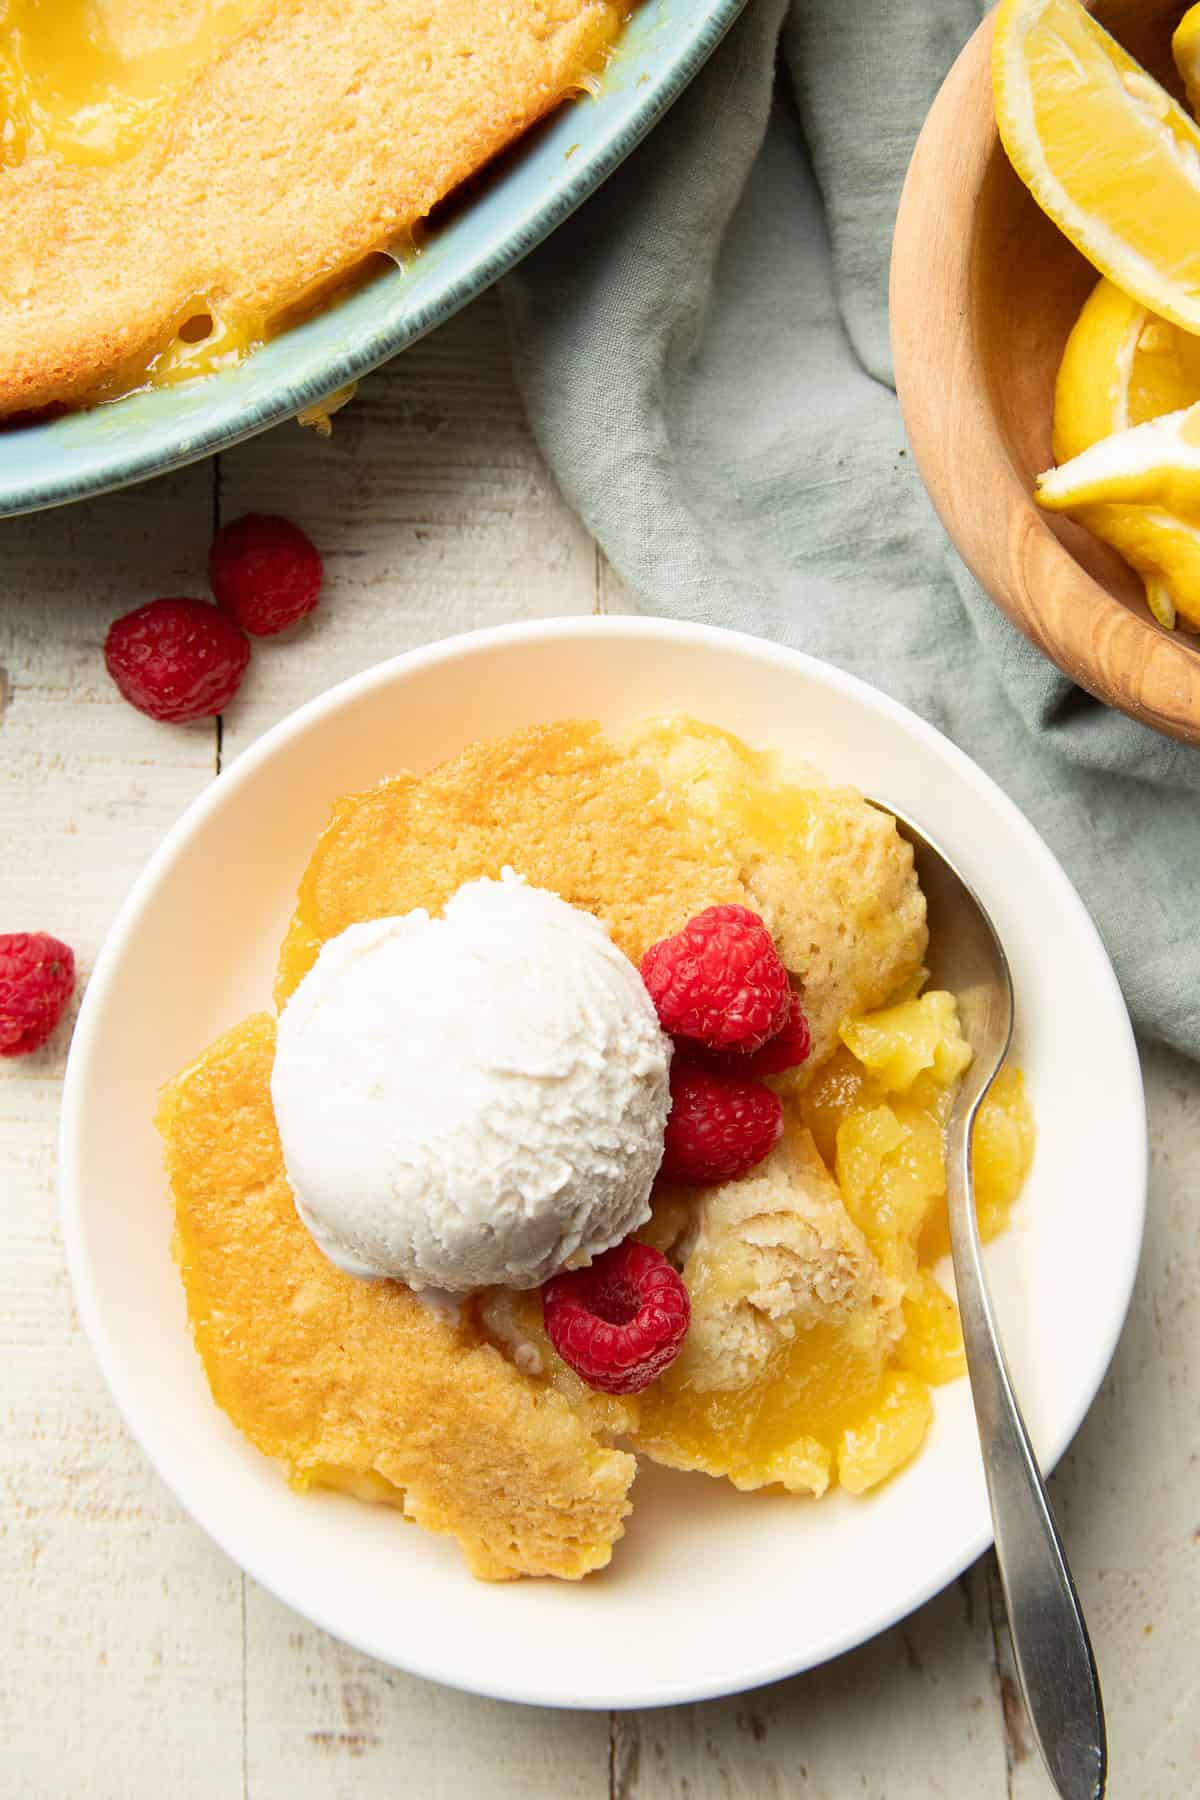
This vegan lemon cobbler features a luscious, zippy lemon filling topped with chunks of fluffy vanilla cake. You’ll be amazed at how easy it is to make — it’s basically magic! Perfect for everything from holiday dinners to casual potlucks.
I was trying to explain to my husband what a cobbler is the other day. And, well, it's not the easiest thing to define. Cobblers can vary quite a bit from recipe to recipe! Traditional versions are topped with biscuits or something biscuit-like, like my vegan apple cobbler and vegan berry cobbler. But there are other styles too, including my personal favorite: the “magic” cobbler. That’s the style used in my vegan peach cobbler, and now this vegan lemon cobbler.
Jump to:
The magic cobbler method is much simpler than the traditional version, and it’s completely counterintuitive. You start with a layer of melted butter, add a simple cake batter, then pour the fruit filling over the batter and bake. When it's done, the cake has risen to the top and the filling has sunk to the bottom — magic!
This vegan magic lemon cobbler is also really easy to make, but don’t mistake that for a shortcut on flavor. I LOVE the luscious filling and fluffy cake with little bits of crispy buttery edges, and I think you will too! Top it all off with a scoop of dairy-free vanilla ice cream for an absolutely heavenly treat.
Ingredients You'll Need
Below you'll find a list of ingredients in this recipe, with notes and substitutions. Scroll all the way to the bottom of the post to see the full recipe, including the amount of each ingredient.
- Vegan butter. You can find this in the refrigerated section of most grocery stores, usually near the regular butter.
- Lemon juice. You absolutely want to use freshly squeezed juice for the best flavor — lemon is our star flavor, after all!
- Cornstarch.
- Non-dairy milk. You can use any non-dairy milk that you'd normally drink, such as soy, almond, or oat milk. Read my guide to non-dairy milk if you need help choosing.
- Coconut cream. This is the fatty, solid portion of canned coconut milk. It's usually sold in cans, near the coconut milk. If you can't find it, grab a couple cans of coconut milk and chill them in the fridge overnight — the cream will separate from the liquid.
- Sugar. We're using organic granulated sugar, because regular sugar is often processed using animal bone char.
- Lemon zest.
- Yellow food color. This is optional. You can also use a pinch of turmeric if you prefer a natural option.
- Flour. I've only tested the recipe with all-purpose white wheat flour, so I can't say how it will work with other varieties.
- Baking powder.
- Salt.
- Vanilla extract.
How It's Made
Below is a detailed photo tutorial on how to make this dish. Scroll all the way down if you'd like to skip right to the recipe!
Step 1: Prepare. Preheat your oven to 350°F. Grab your baking dish, add your vegan butter, and place it into the oven while it preheats. You're melting the butter and heating up the dish. You'll also want to place a baking sheet (or similar cookware) on the rack under the dish, as cobblers can sometimes drip!
Step 2: Make the thickener. Stir chilled lemon juice together with your cornstarch in a small container. Set it aside for now.
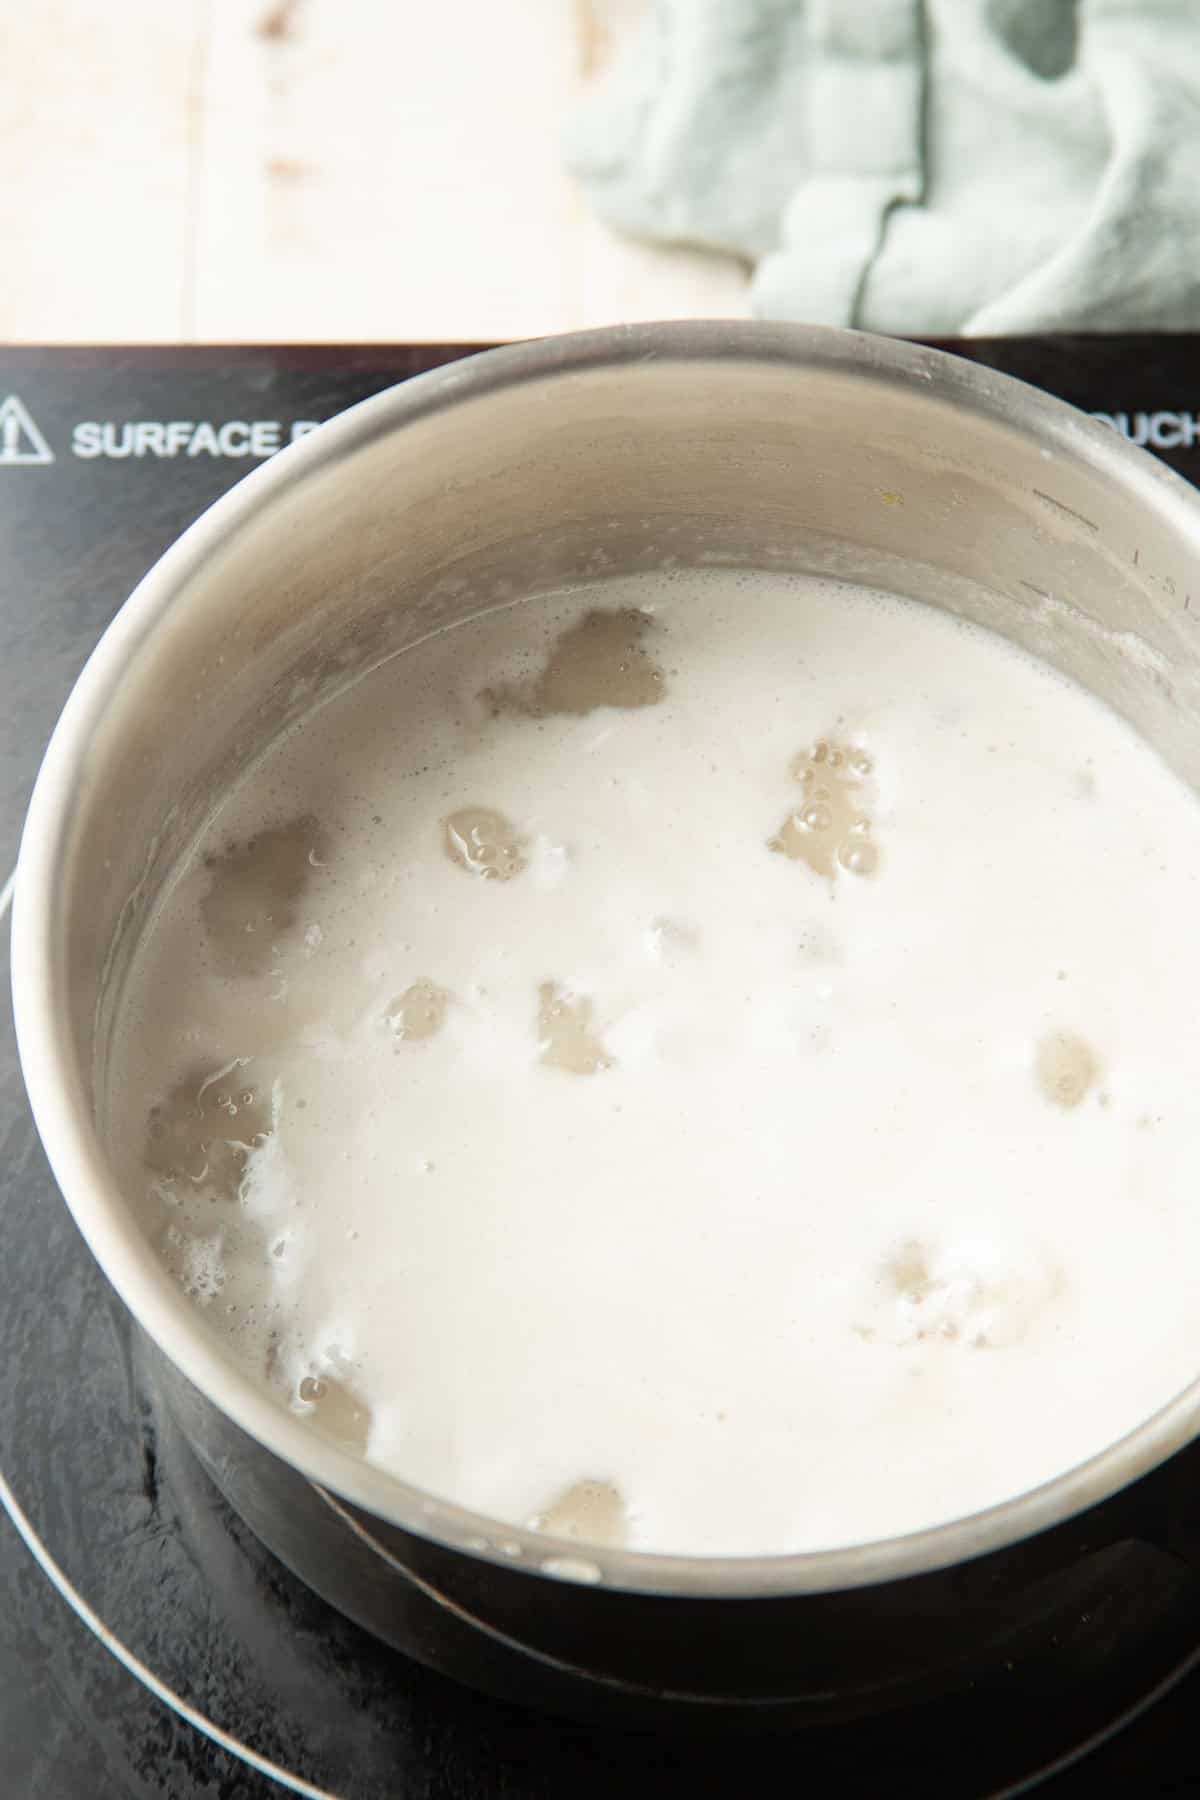
Step 3: Heat the liquid. Combine your non-dairy milk, coconut cream, and sugar in a saucepan, then heat it up to a simmer.
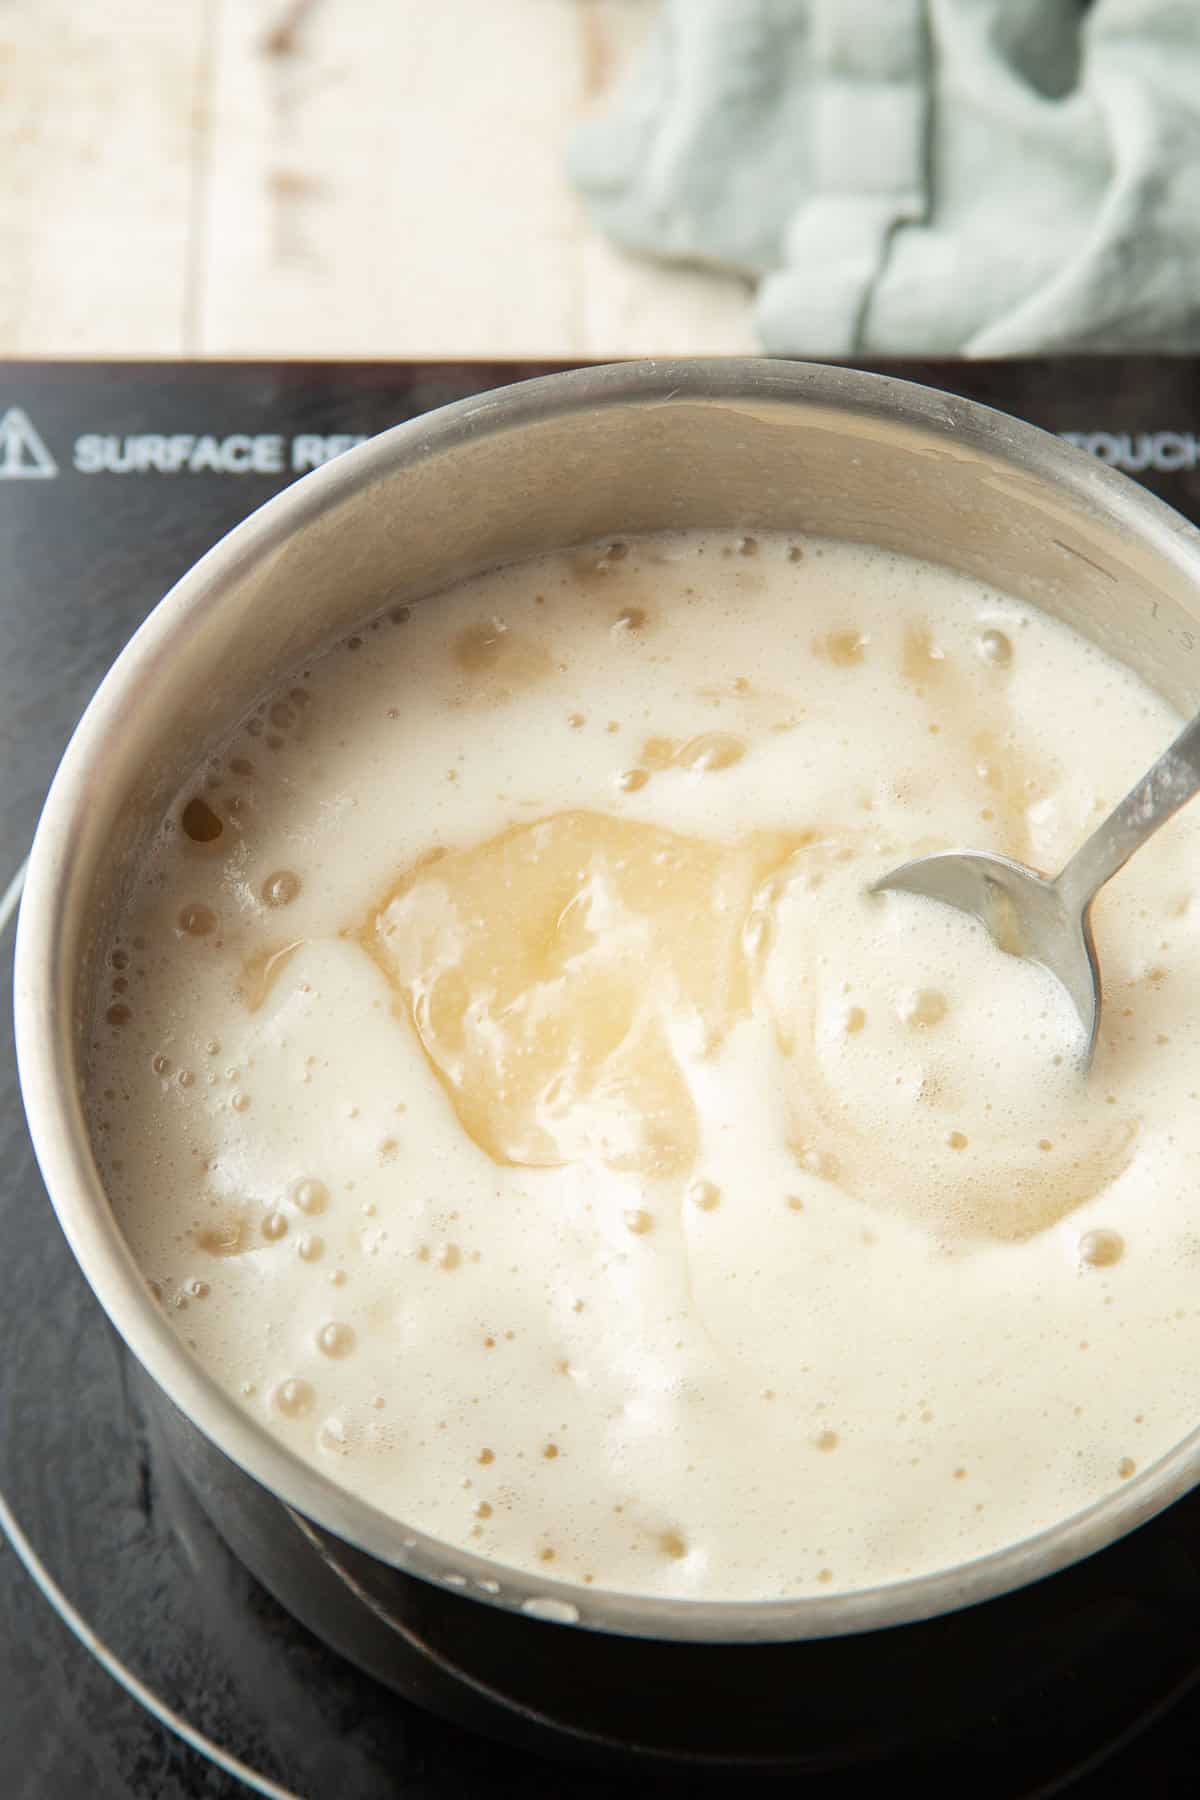
Step 4: Thicken. Once the liquid starts to simmer, add the thickener. Stir well and bring it back to a simmer. It'll thicken quickly — take it off of heat when it does.
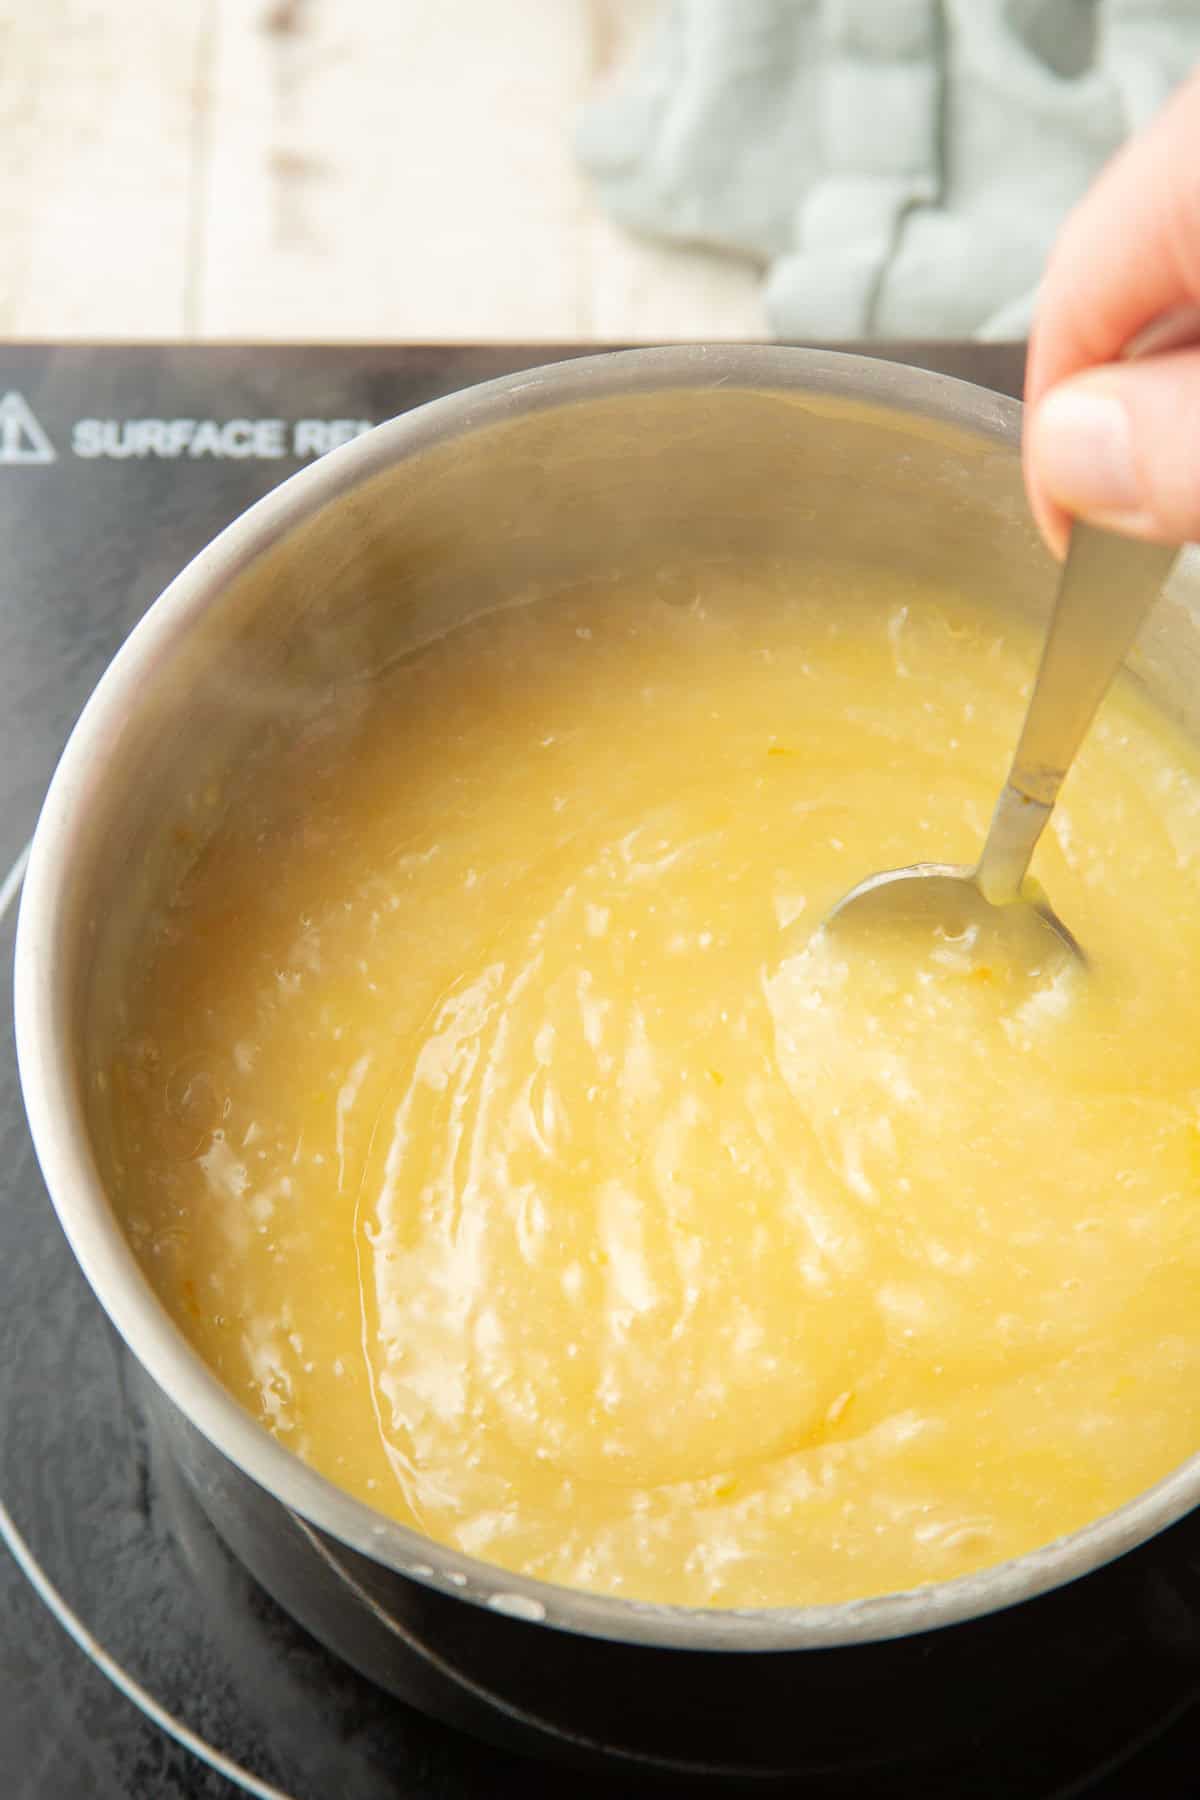
Steps 5 and 6: Finish the filling. Stir in the lemon zest and (optionally) food coloring into the filling. Let it cool a bit, stirring occasionally as it does to prevent a skin from forming.
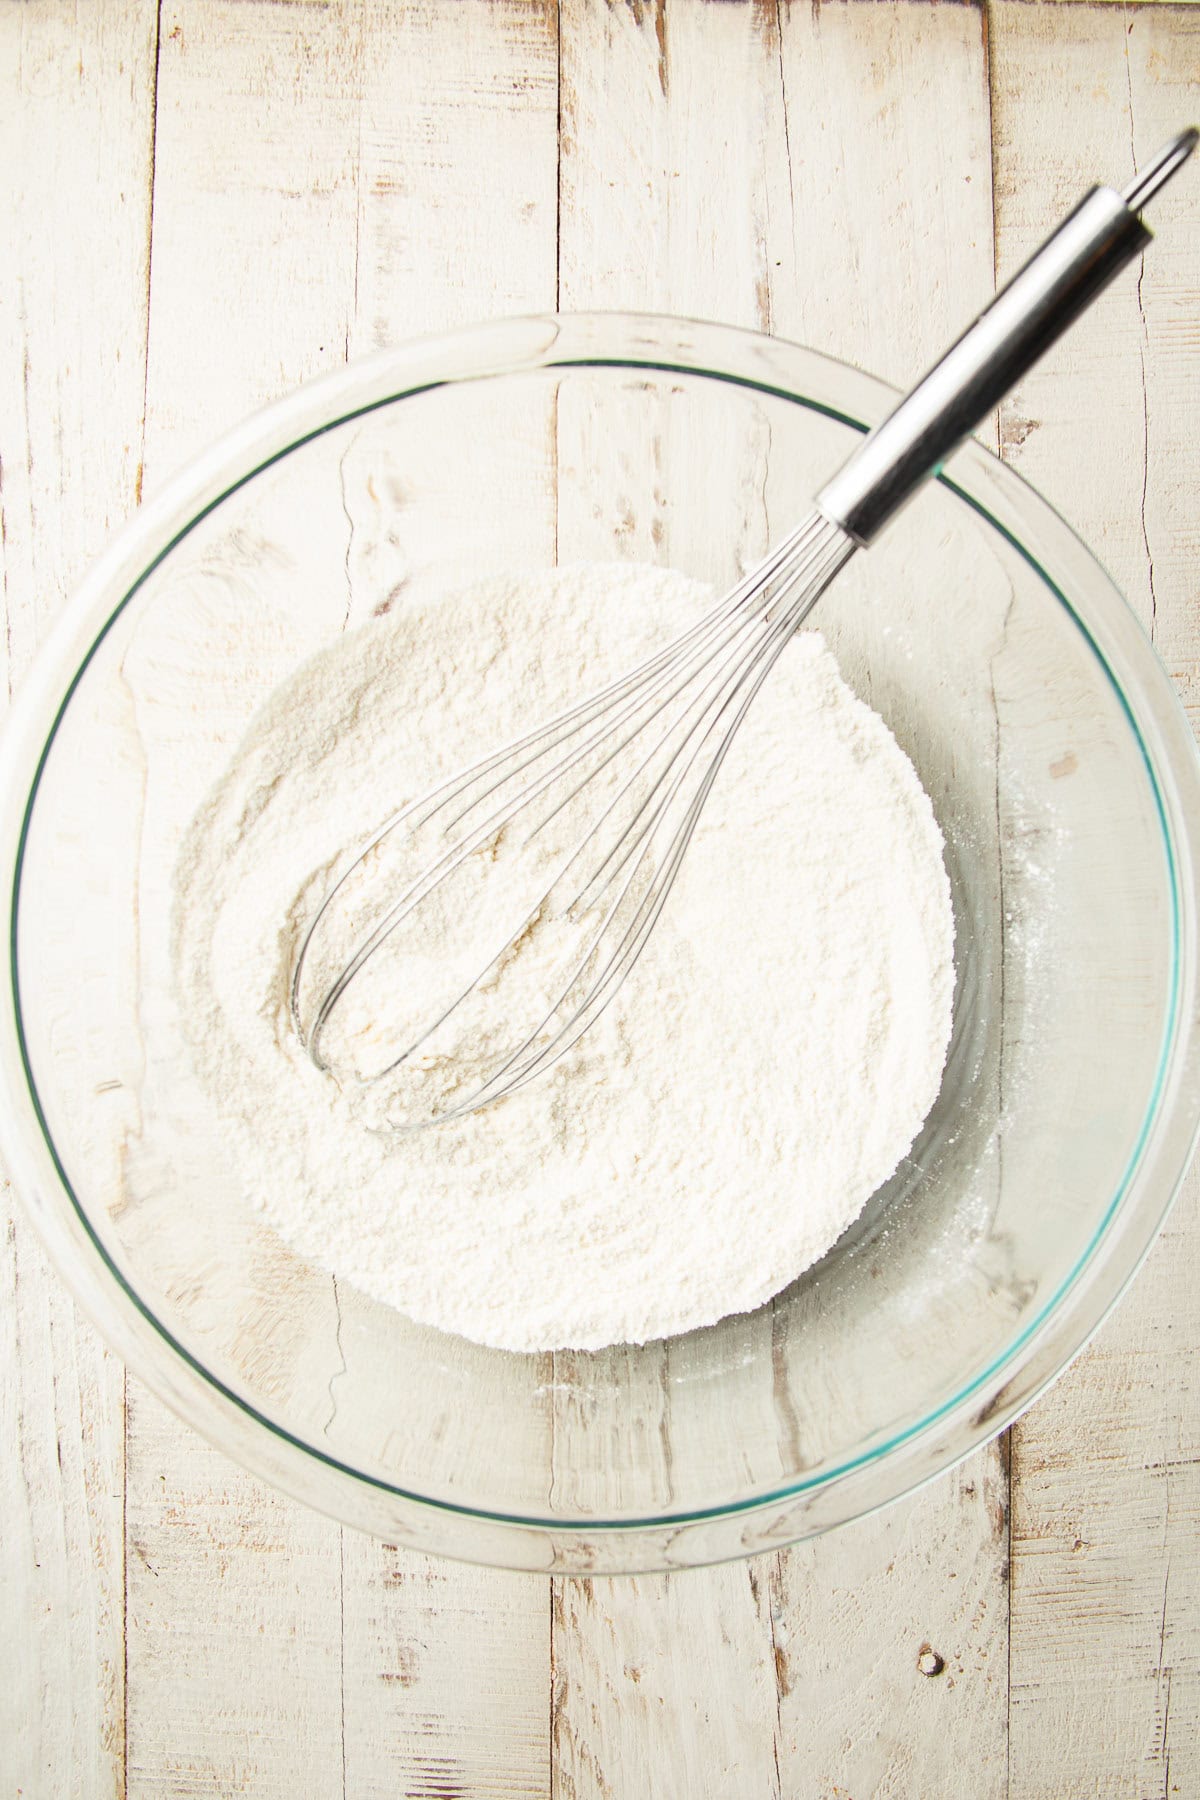
Step 7: Combine dry ingredients. Whisk your flour, sugar, baking powder, and salt together in a large bowl.
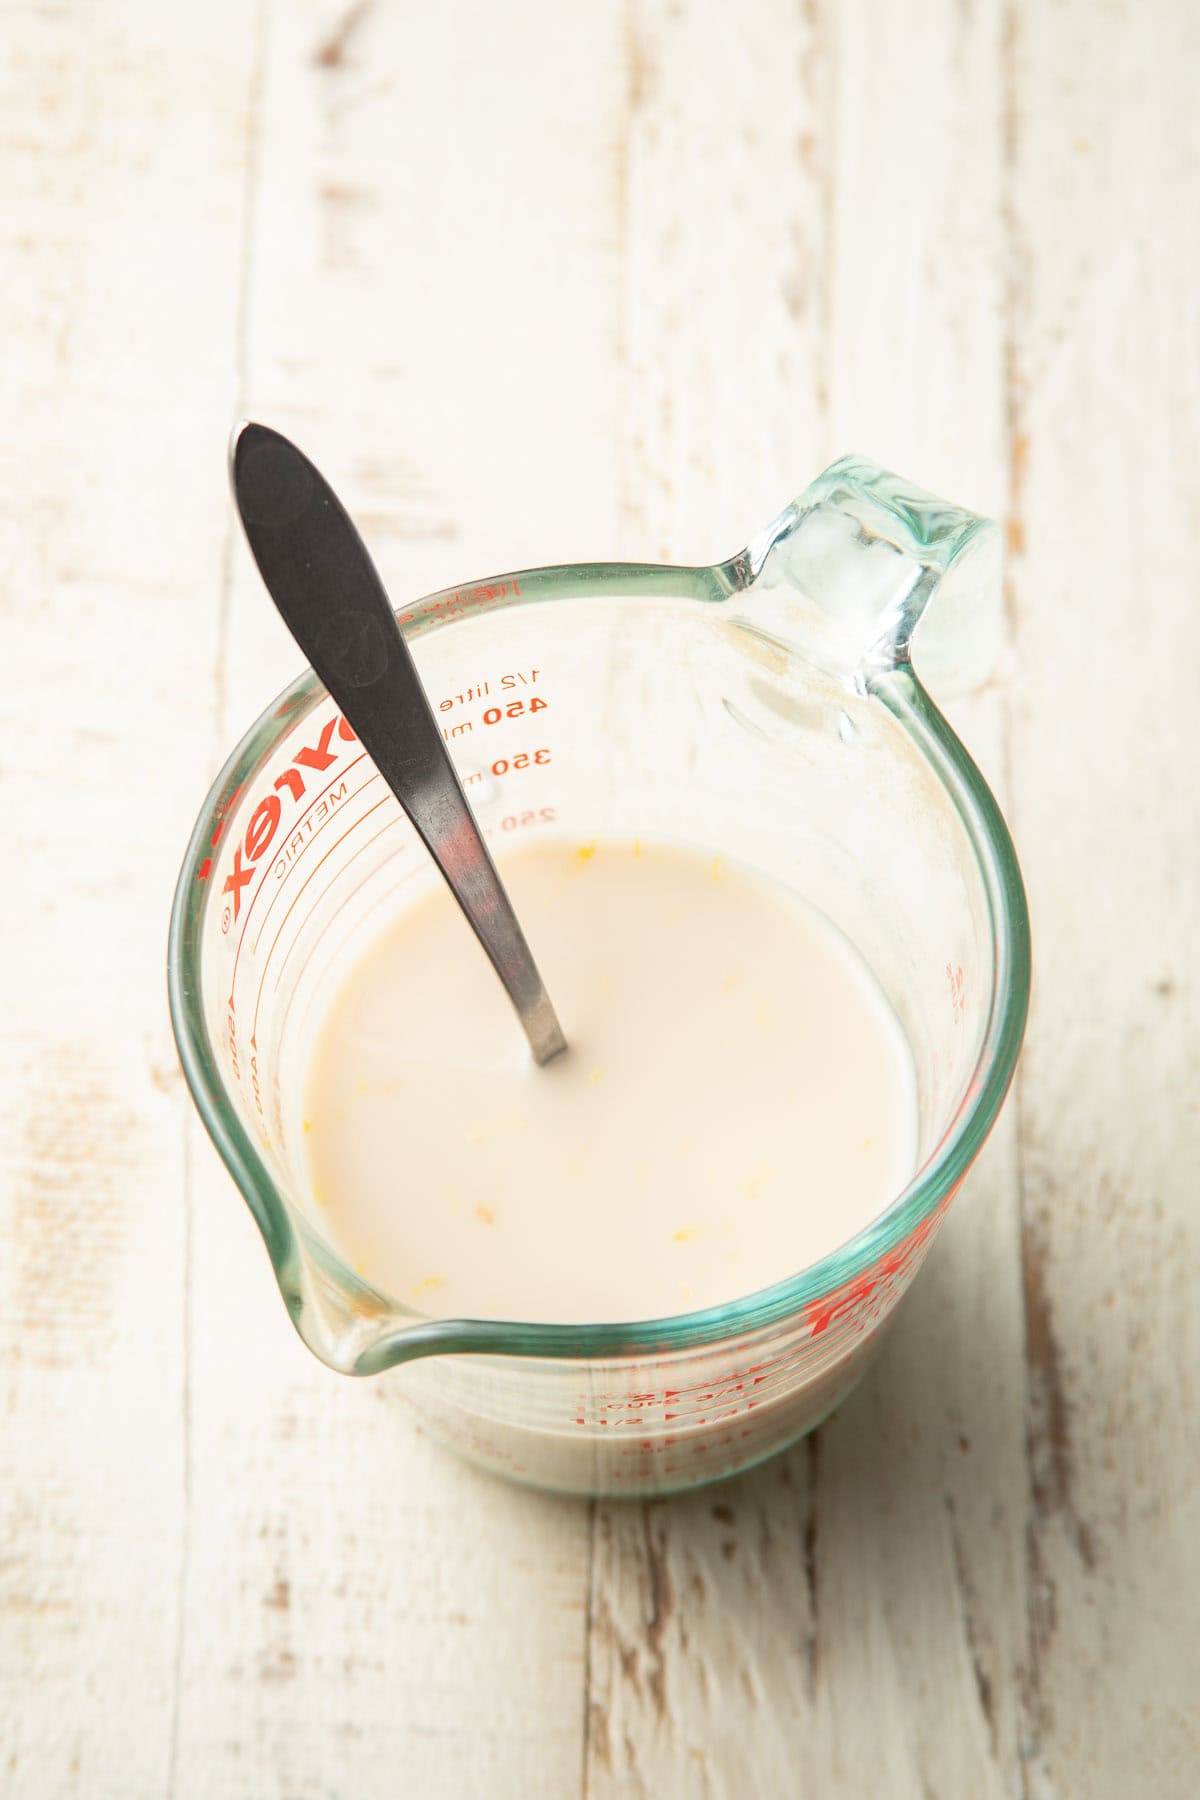
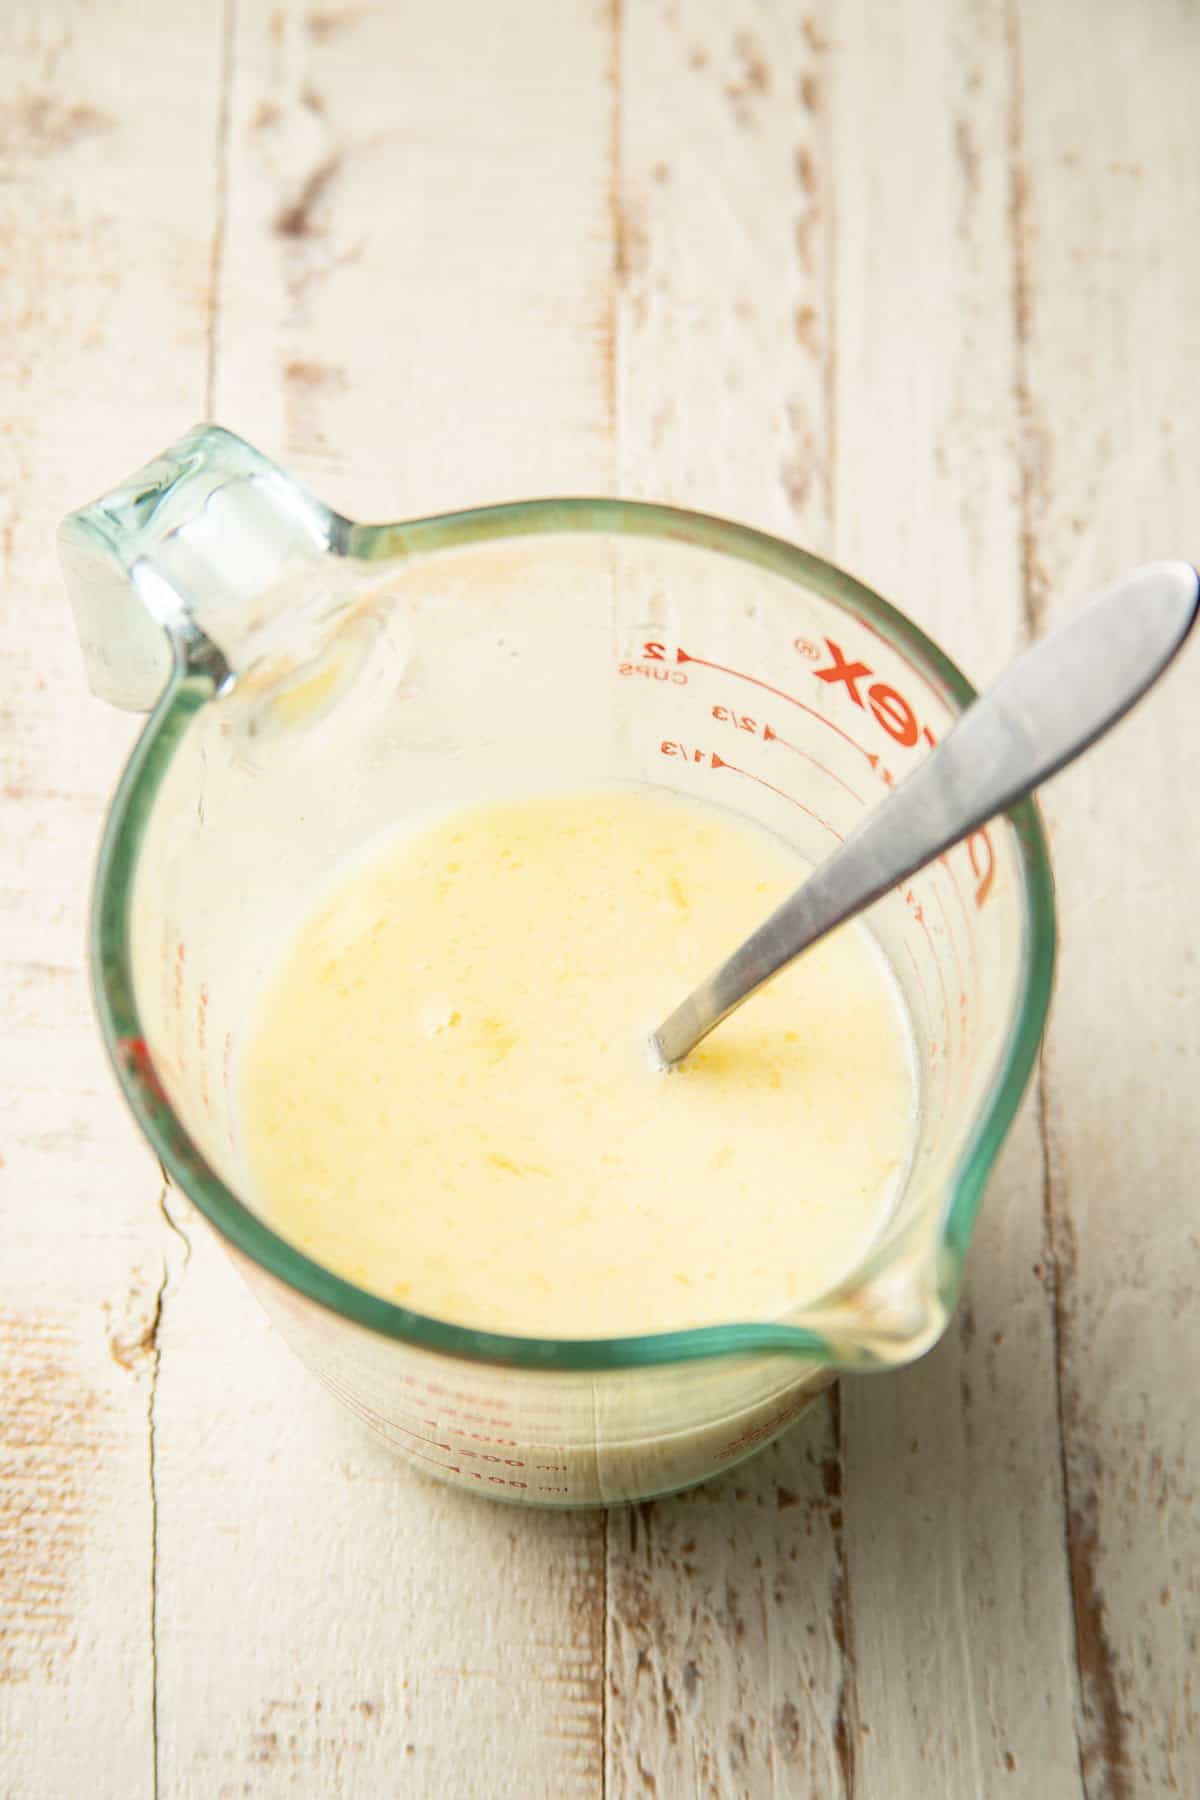
Step 8: Combine wet ingredients. Stir your non-dairy milk, vanilla, and lemon zest together in a small container.
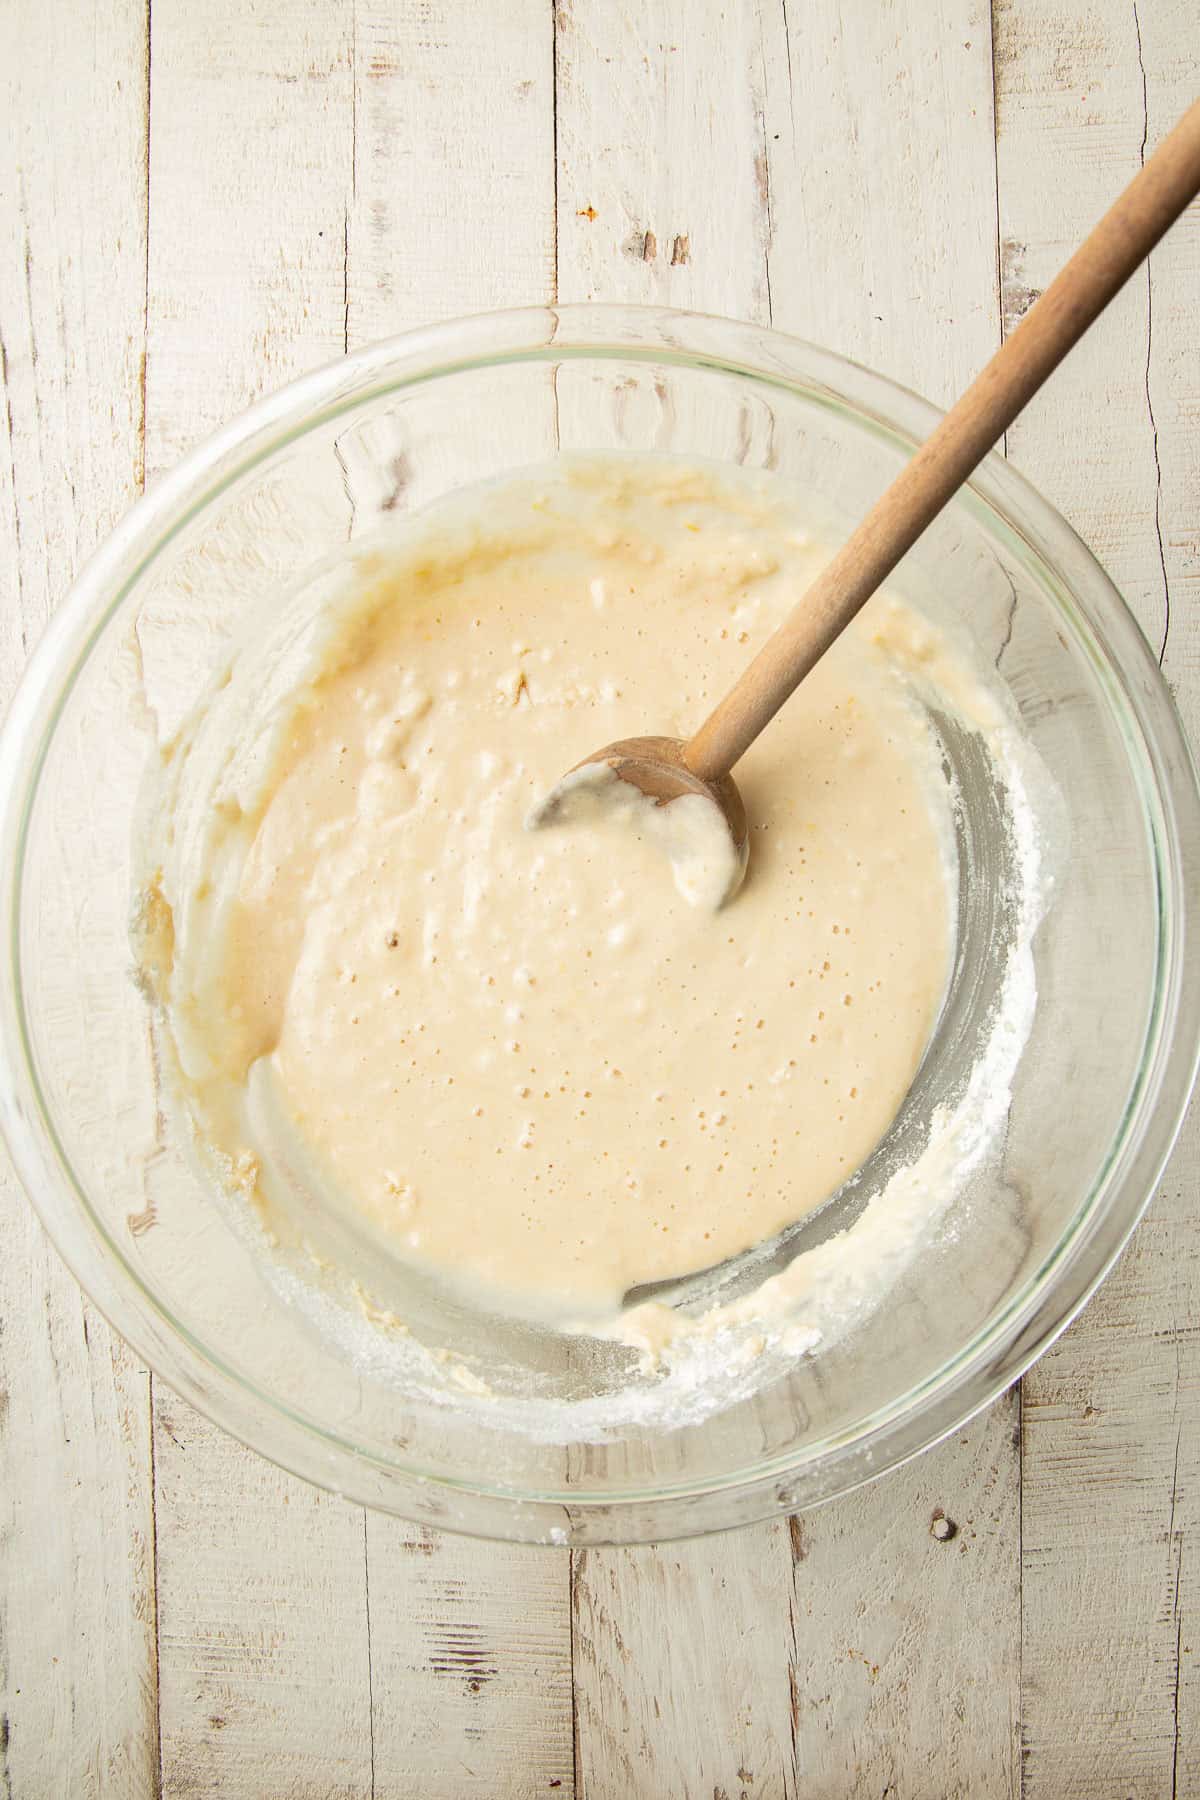
Step 9: Mix the batter. Add the wet ingredients to the dry, then stir just until combined. Don't overdo it — stop when you no longer see flour streaks.
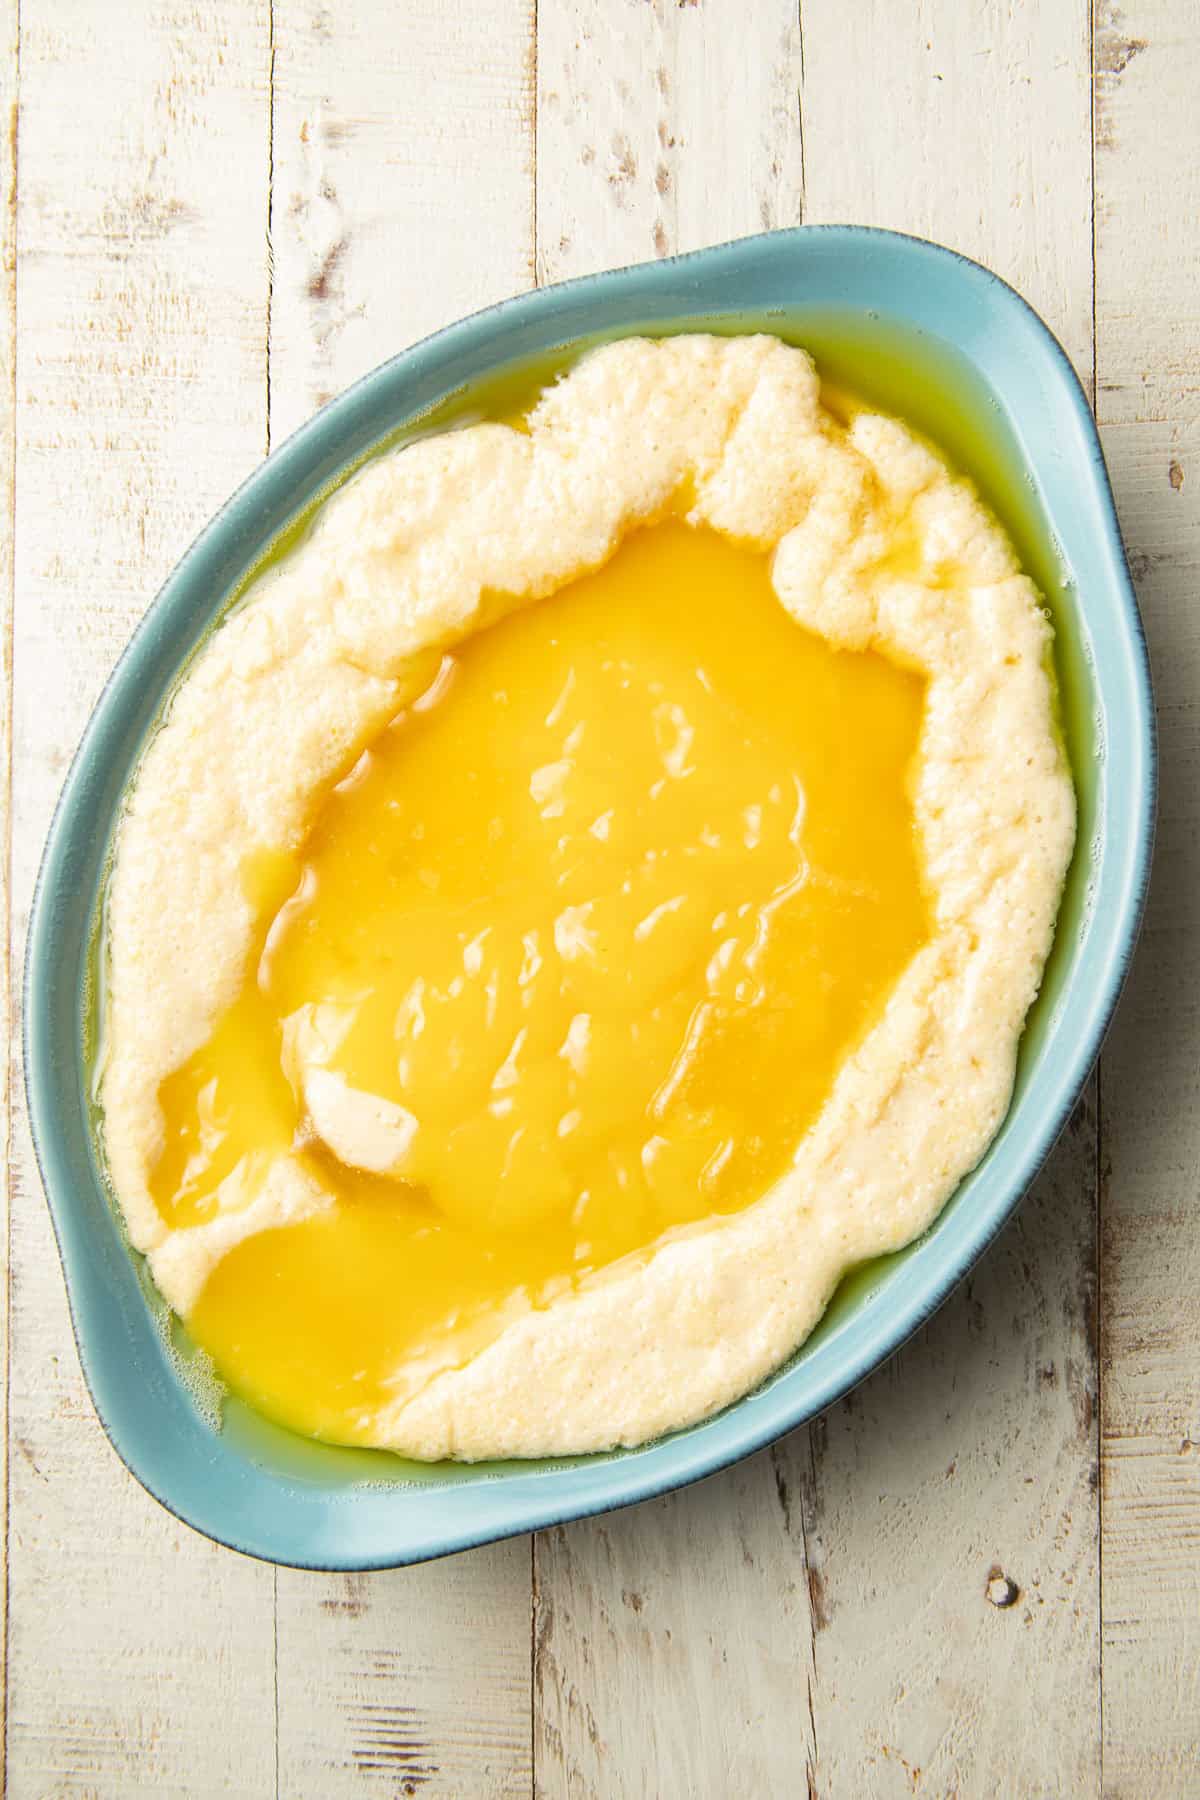
Steps 10 and 11: Assemble. Pour the batter into your hot baking dish, then spoon the filling over the batter. It won't be pretty, and that's totally fine! Bake until the cake has mostly risen to the top and is fluffy and golden.

Step 12: Let it cool. Place it on a cooling rack, and let it cool completely or until it's just warm and the filling has thickened.
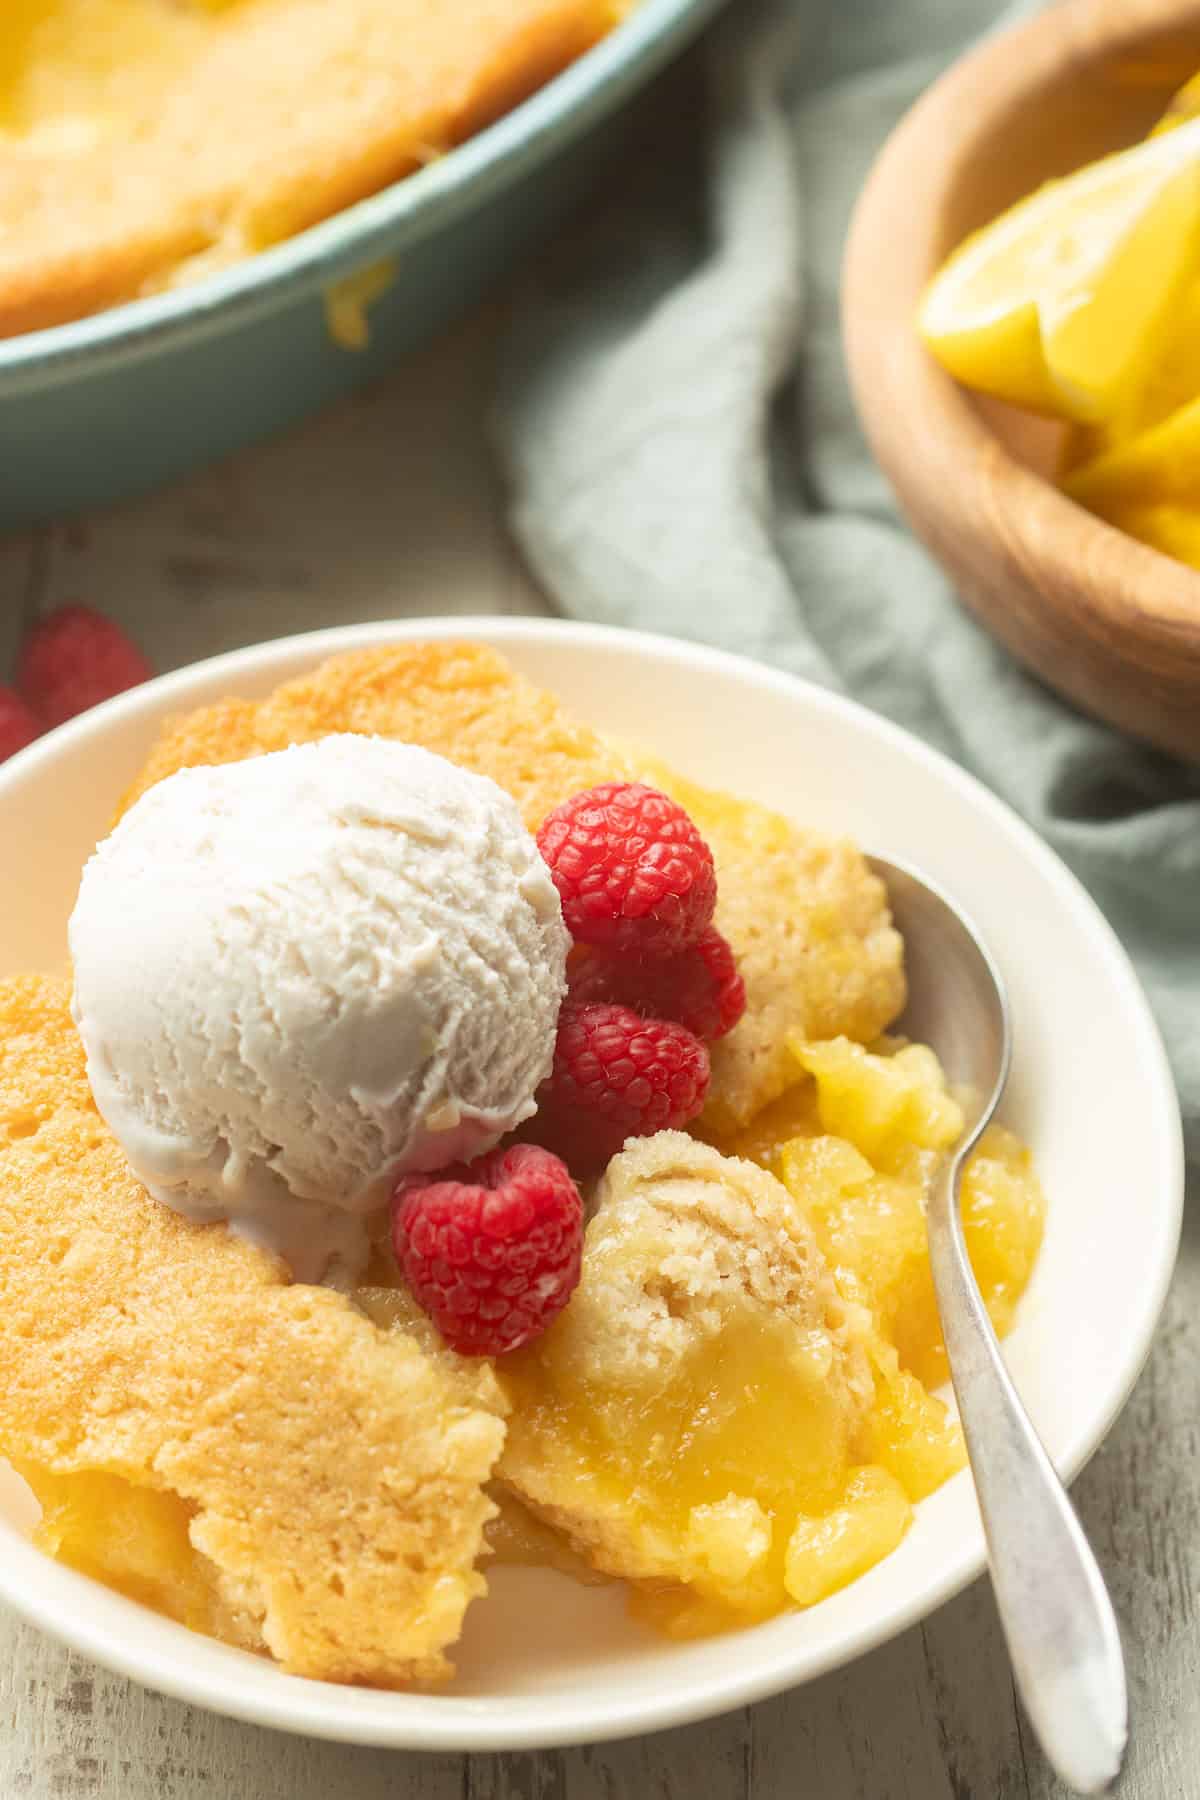
Step 13: Serve. Your vegan lemon cobbler is ready to enjoy! I love having mine with a scoop of vegan vanilla ice cream and some fresh berries.
Tip: This cobbler is best warm, so if you did let it cool completely, maybe pop each serving in the microwave for a few seconds before digging in.
Frequently Asked Questions
I'm afraid I can't say, as I haven't tried. A gluten-free flour blend would be the best option if you'd like to give it a try.
Please don't! The vegan butter combines with the batter during baking, and is important for getting the texture and flavor of the cake topping right.
Usually this is due to stirring the filling and batter together in the baking dish, so make sure not to do that. Skipping the step of preheating your baking dish and melting the butter can also skew results.
The filling will be very runny when it comes out of the oven. It'll thicken up to the texture of lemon curd as it cools.
Store any leftover cobbler in the baking dish covered tightly in plastic, or in an airtight container. It will keep for about 3 days in the fridge. Reheat individual portions in the microwave.
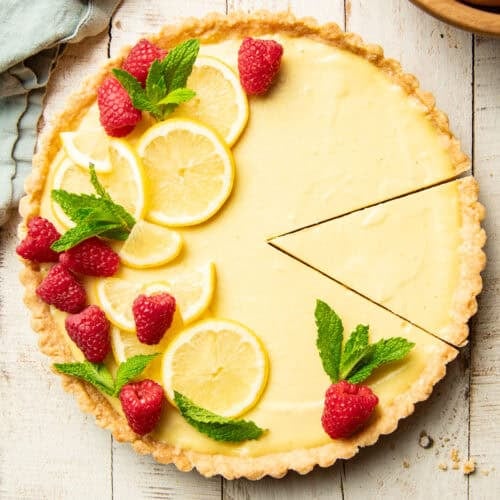
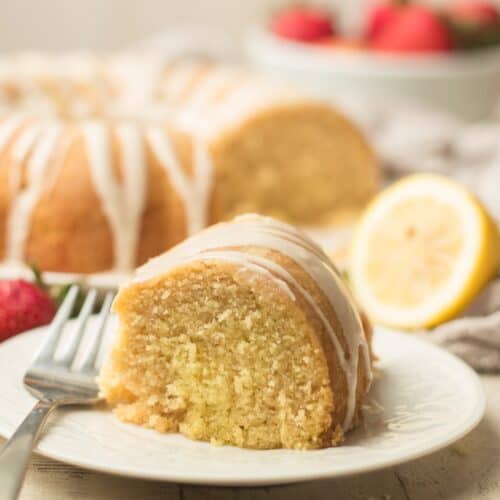
More Vegan Lemon Desserts


Like this recipe? If so, please stop back and leave me a review and rating below if you try it! Also be sure to follow me on Facebook, Pinterest or Instagram, or subscribe to my newsletter for more recipes like this one!
📖 Recipe

Magic Lemon Cobbler
Equipment
- 1 (2-quart) baking dish (or slightly larger)
Ingredients
- ½ cup vegan butter (1 stick)
For the Filling
- 1 cup freshly squeezed lemon juice, chilled
- ⅓ cup cornstarch
- 1 cup unflavored and unsweetened non-dairy milk
- ⅔ cup coconut cream (solids only — see Note 1)
- 1 ¼ cups organic granulated sugar
- 1 tablespoon lemon zest
- Yellow food color, optional
For the Batter
- 1 ½ cups all-purpose flour
- ¾ cup organic granulated sugar
- 2 teaspoons baking powder
- ¼ teaspoon salt
- 1 cup unflavored and unsweetened non-dairy milk
- 2 teaspoons vanilla extract
- 2 teaspoons lemon zest
Instructions
- Preheat the oven to 350°F. Place the vegan butter into your baking dish, then place the dish in the oven to preheat and melt the butter while you prepare the batter. Place a baking sheet on the rack below the baking dish, just in case you have drips when the cobbler bakes.
- To make the filling, first whisk the lemon juice and cornstarch together in a small container. Set it aside for now.
- Place the non-dairy milk, coconut cream, and sugar into a medium saucepan and set it over medium heat. Heat up the mixture while stirring. The coconut cream will melt as it heats up.
- Once the mixture comes to a simmer, give your lemon juice mixture a stir, then add it to the simmering milk mixture. Bring it back up to a simmer while stirring constantly. It should thicken up very quickly. Remove it from heat once it does.
- Remove the pot from heat, then stir in the lemon zest and a few drops of food color, if using.
- Let the filling cool while you make the batter. It doesn't need to cool completely — just until warm. Give it a stir every few minutes as it cools to prevent a skin from forming.
- Make the batter while the filling cools. First, whisk the flour, sugar, baking powder, and salt together in a large mixing bowl.
- Stir the milk, vanilla, and lemon zest together in a small container.
- Add the milk mixture to the flour mixture, then stir just until combined.
- Carefully remove the baking dish from the oven (it will be hot!). Pour the batter into the dish, then spoon the filling over the batter. Do not stir. The filling won't completely cover the batter, and you may notice the batter starting to rise and aerate while you assemble the cobbler — this is totally fine.
- Return the dish to the oven and bake the cobbler for 40 to 45 minutes, or until the filling is bubbly and the cake has mostly risen to the top and is fluffy and golden brown.
- Place the cobbler on a cooling rack and allow it to cool completely or until just warm enough to serve. The filling will be very liquid from the oven, but will thicken up as the cobbler cools.
- Serve, optionally with a scoop of vegan vanilla ice cream.
Notes
- Open the can of coconut cream and scoop out the thick white solids, leaving the watery liquid behind. If your kitchen is warm and the solids have melted, chill the can in the refrigerator for up to 24 hours to help them separate. You can check your coconut cream a day ahead by shaking the can — if you hear or feel liquid sloshing around, refrigerate it for at least 24 hours to help the solids separate.

I just discovered what a cobbler is (I looked it up and the definition was "something similar to a crumble", so I got interested, because no clue how I would go about making lemon crumble), and it's my new favorite quick but impressive desert to serve! This cobbler tastes a lot like lemon pie, with the custard having a very similar texture, but the cake is a great addition to it! I followed the recipe, with quite some tummeric which gave me an almost artificial yellow color, but wonder what is the use of the butter in the baking form. Is it because there is no fat in the cake dough, or simply to prevent the cobbler from sticking (then it could be replaced with backing paper)? Thanks!
Glad you enjoyed it! The butter actually mixes with the cake batter while it bakes (part of the “magic”!), so I definitely wouldn’t skip it or the cake portion could come out dry.